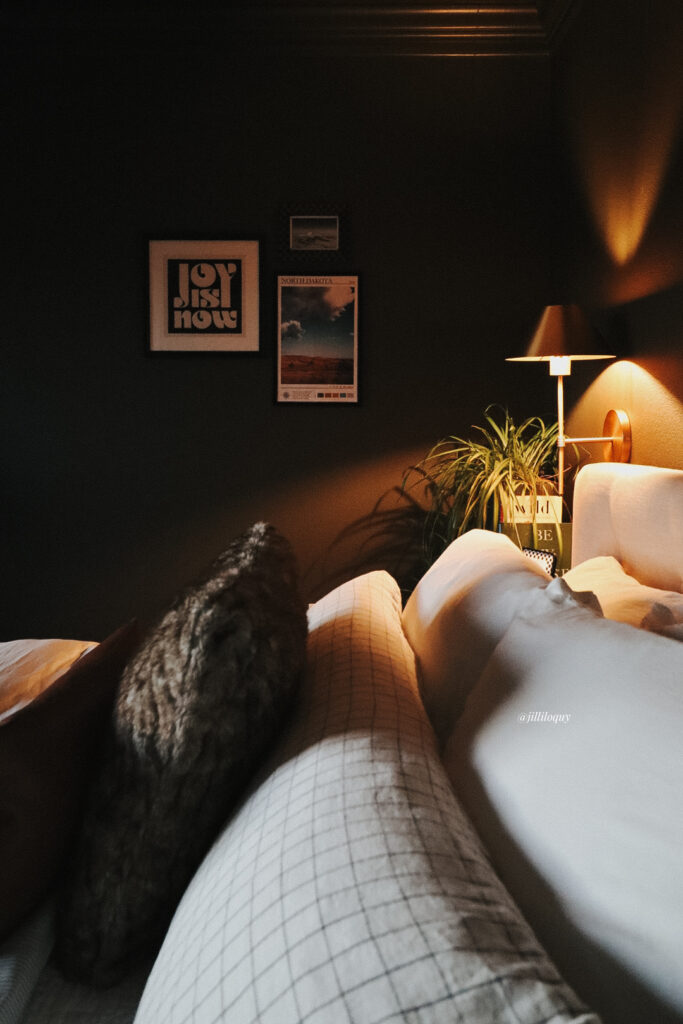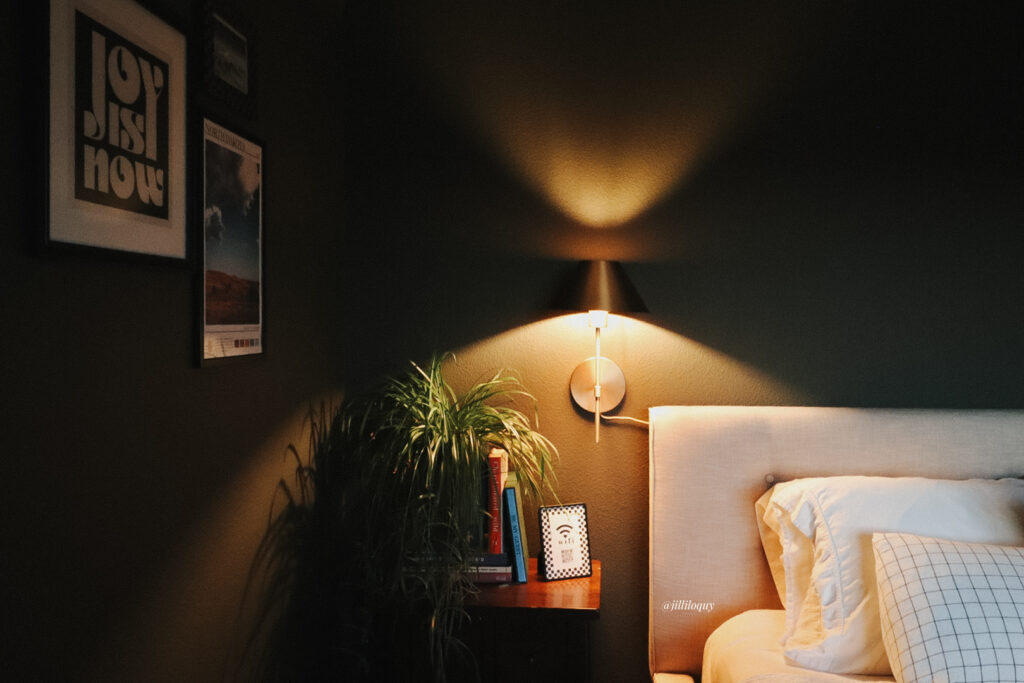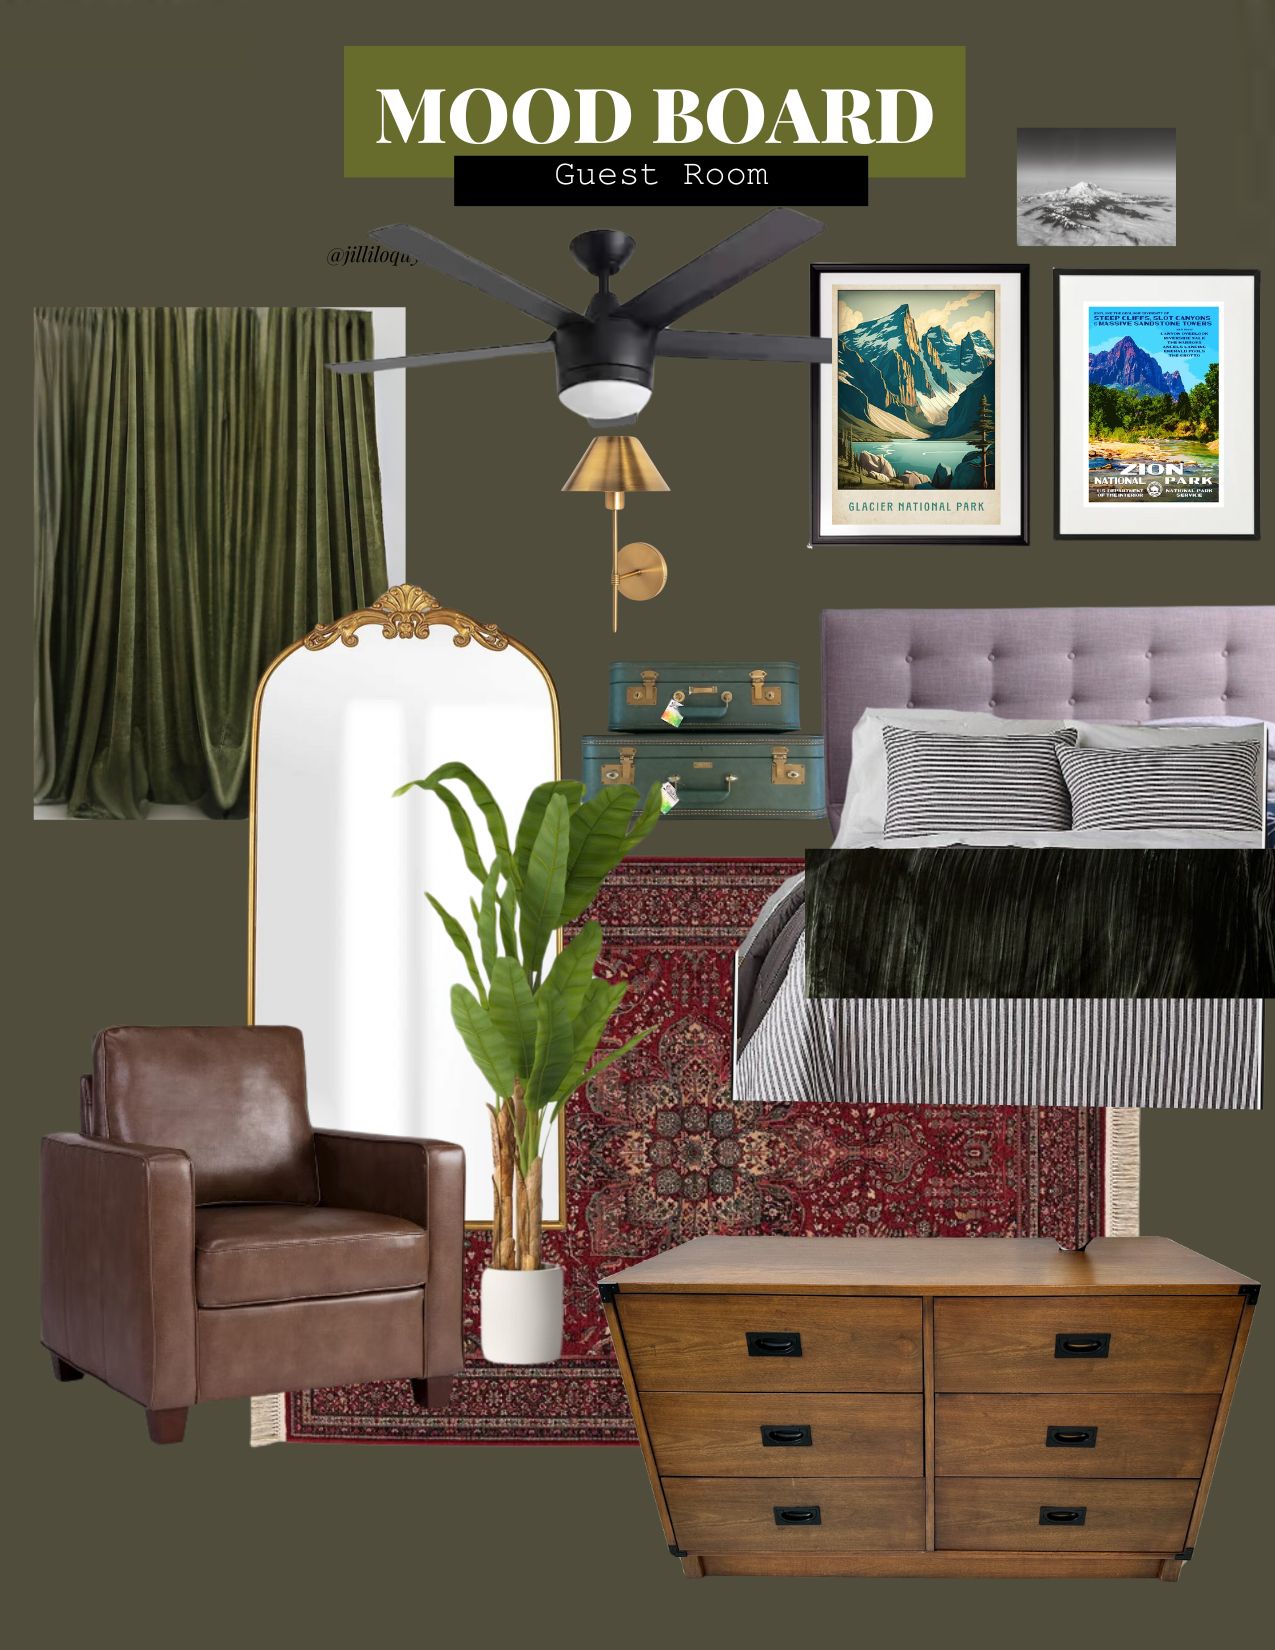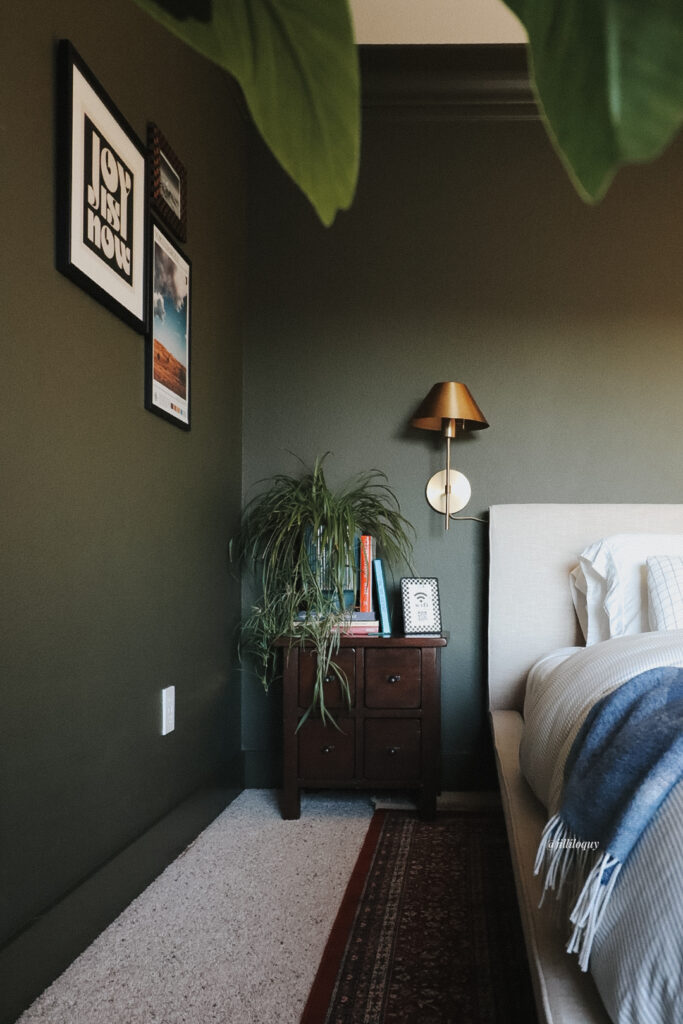
The guest room in our house has undergone several transformations during our time living here. It’s presented me some of the most challenges decorating a space. So much so, the guest room is one of the rooms in the house that has seen some of the biggest shifts to shake things up that just weren’t feeling right.
The Guest Room’s Eras:
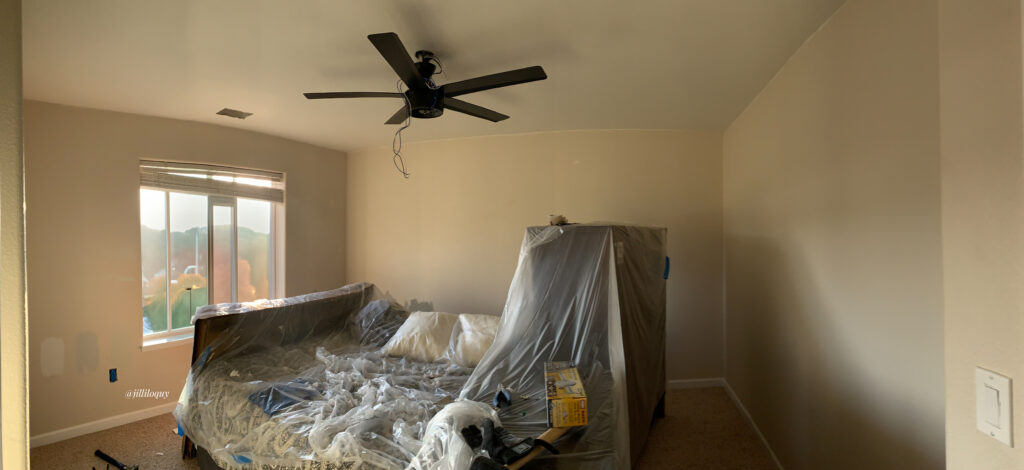
The “no more builder grade paint!” era
As the name implies, we painted the room. This phase also came with a fan replacement and adding an actual bed frame.
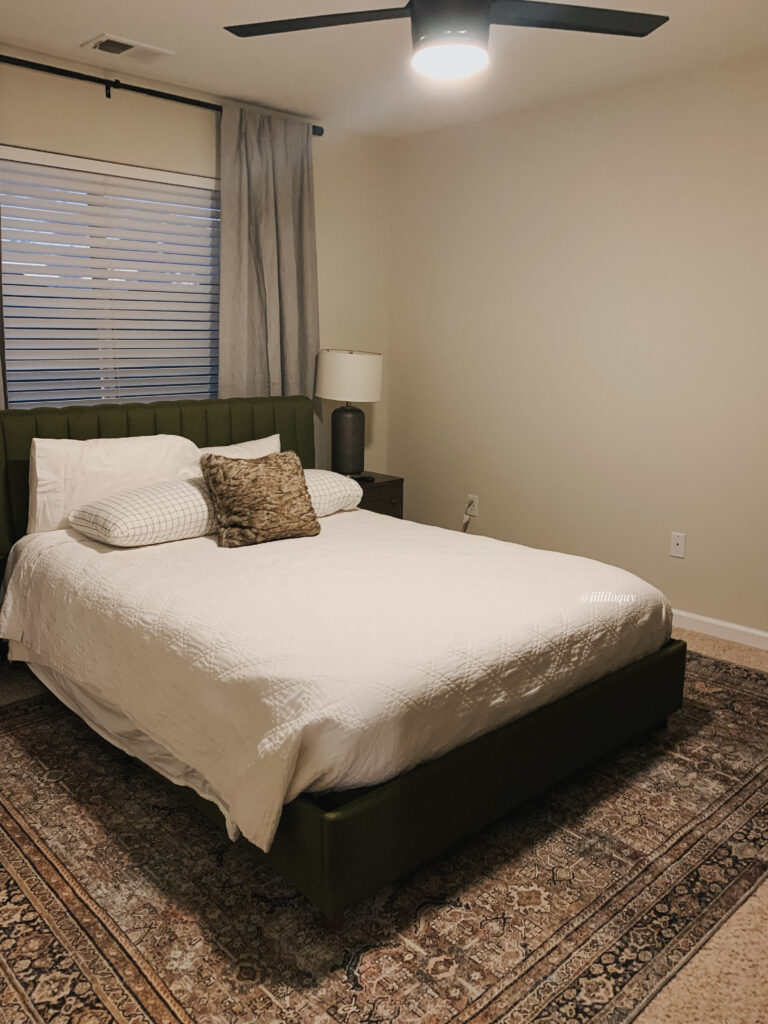
The “I just need to try something different” era
This phase was where I could tell the room arrangement would be better with the bed on one of these opposing walls. Ideally the bed would be on the original wall so both sides of the bed could be accessed from the doorway without having to walk alllll the way around it. This era was short-lived because I err on the side of having an unobstructed window.
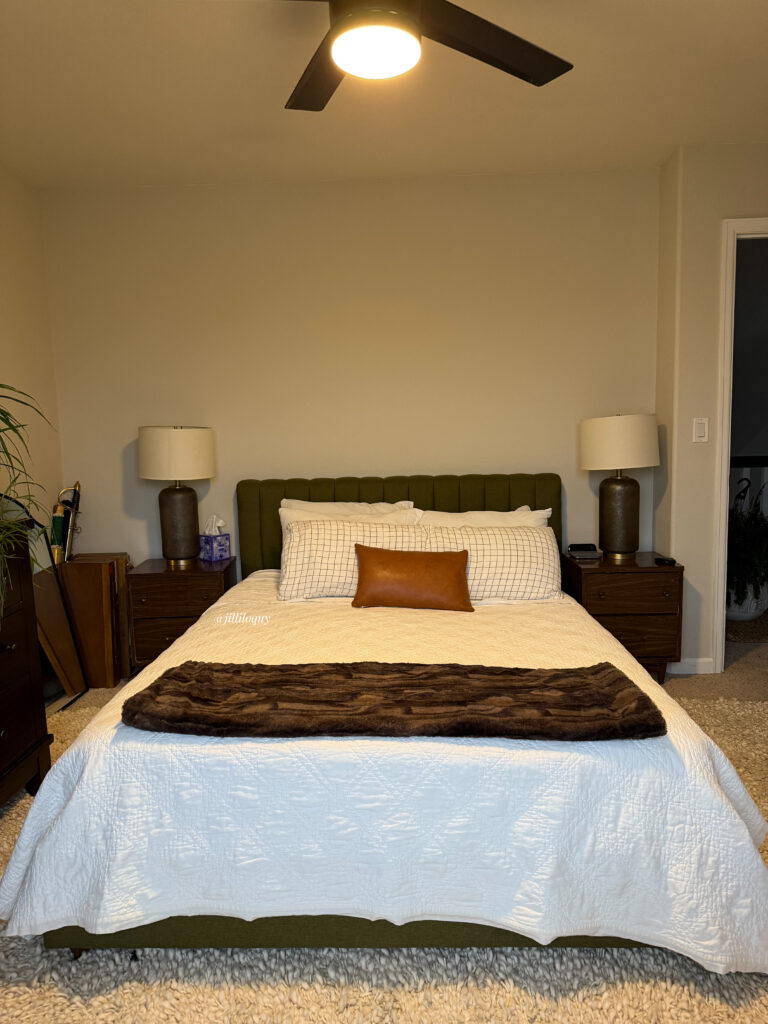
The “get the bed away from the window asap“ era
We moved the bed to the wall opposite the window. The dimensions of the room best suit the queen bed we have on the window or opposing wall. And after the win of a better bed arrangement, we fell off any more big shifts. Smaller updates include hanging a piece of art and more substantial curtains for more color contrast with the walls. Then, we closed the door behind us and only came in here to clean and spruce things up for guests.
GUEST ROOM REFRESH v4.0 – Moody Guest Room
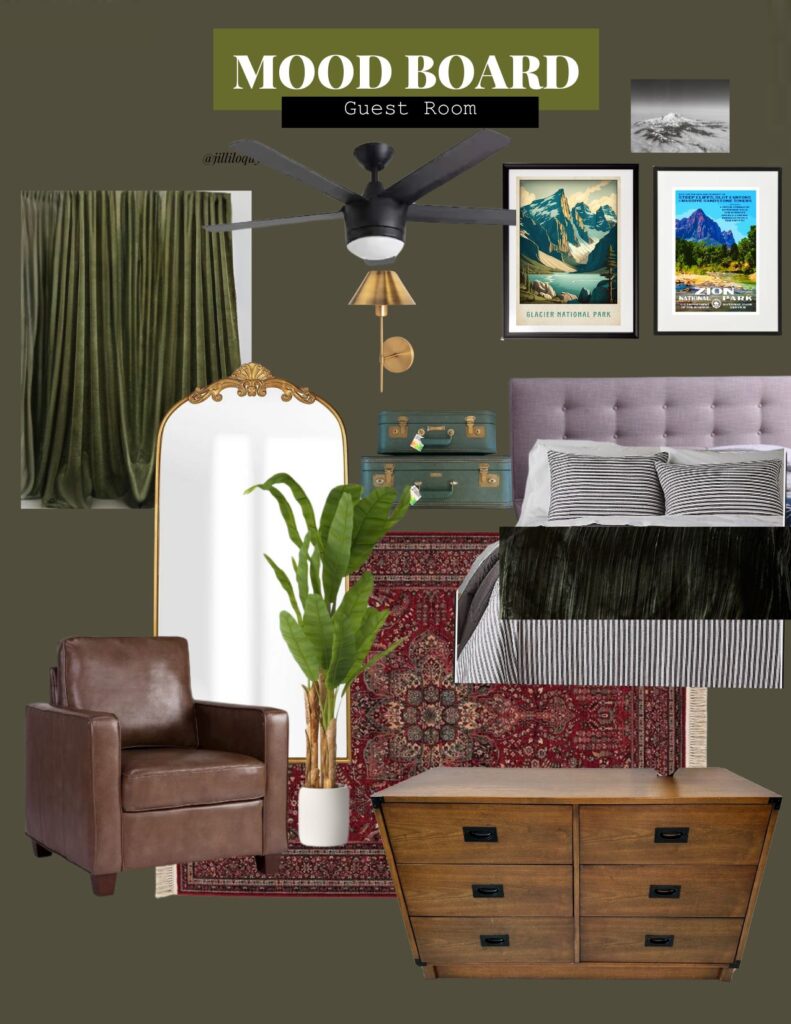
Enter: an intentional guest room refresh. A space where I had the goal of making a truly welcoming space for visitors that wasn’t just happenstance. Less “I happen to have this extra space where I offloaded a bunch of stuff I didn’t quite know what to do with…”. No shame, that’s what every guest space I’ve had previously had been. But, I also have a goal of working toward intentionality as I’m making home.
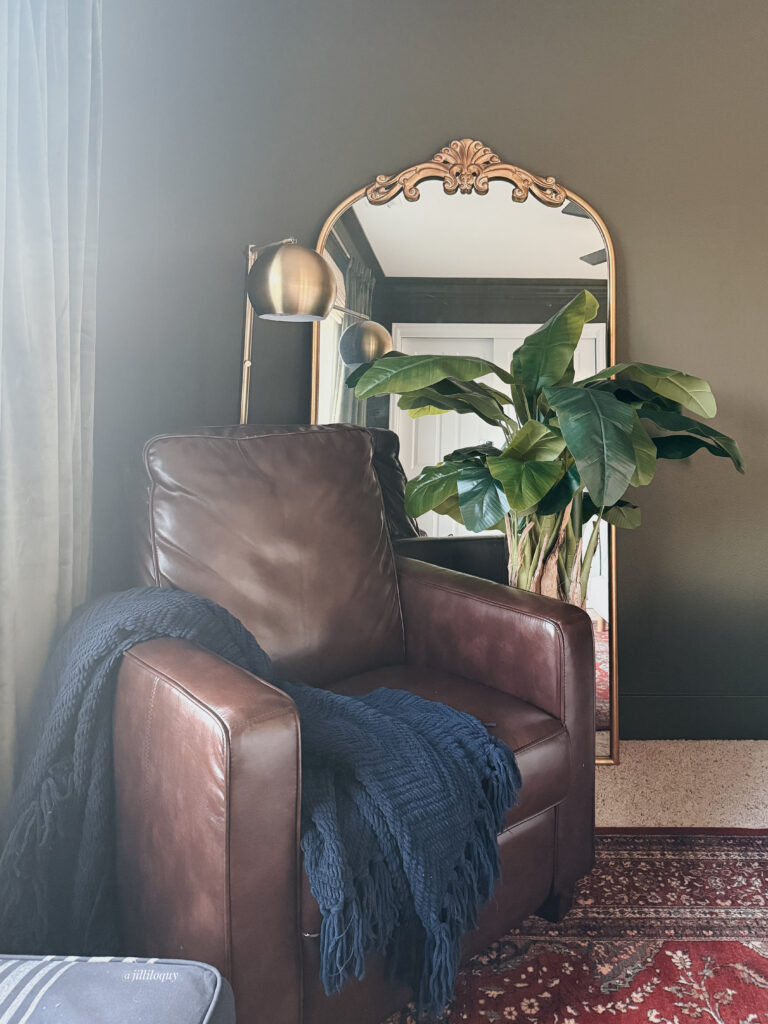
With that intention in mind, the first step was easy: determine what furniture would stay and what furniture would go (…to the other extra collection space: the basement). I made rough plans for two guest spaces and chose which one would be best suited here. Fortunately, I easily accomplished my goal of intentionally choosing furniture. Unfortunately, all of the furniture except a spare nightstand, reclining chair, and floor mirror would need to be moved.
The Process of Making a Moody Guest Room
Choosing Paint
First we swapped the guest room beds. Instead of putting it back together immediately, we kept the disassembled pieces tucked off to the side. This decision meant we gained some extra temporary working space. With the newfound space, I painted the walls in Benjamin Moore (BM) Artichoke (color matched to Behr line of paint). Painting only took me a cool 2 weeks… this included some hesitation with the color. I loved BM artichoke in my paint sample deck. I loved BM artichoke as a small sample on the wall. I was very hesitant about BM Artichoke when I committed to buying a whole gallon of it and began rolling it on the walls. The color was much darker than what I had in mind. It looked more dark gray than I intended for the room to be.
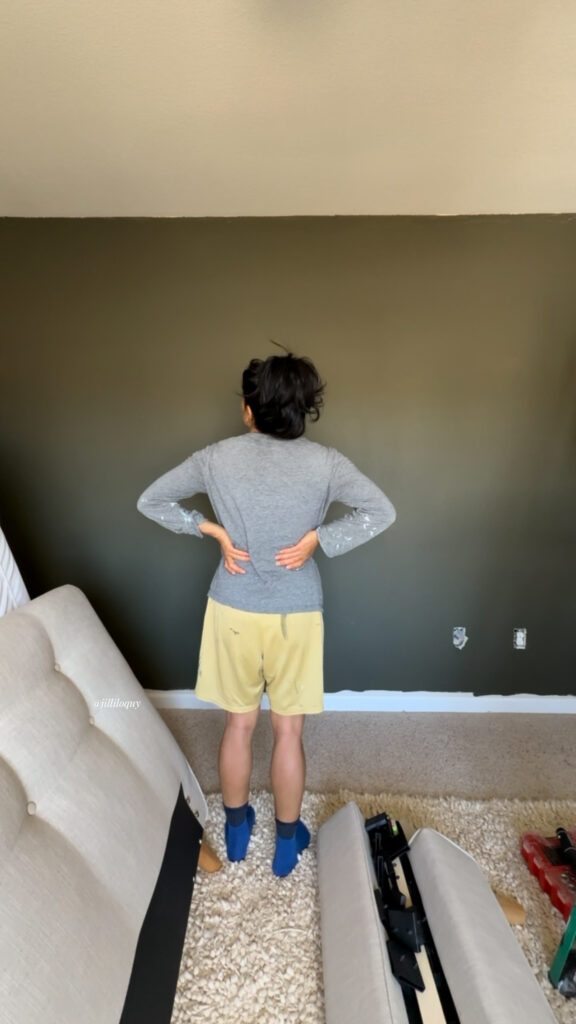
A Glimmer of Hope
Somewhere between the hesitation of what was unfolding before me and a commitment to keep up the momentum, I decided to stick it out with the paint. I had already bought the paint, started painting, and I couldn’t quite imagine what the paint would look like with all the walls painted this color. Once I had a majority of the walls painted or ran out of paint, whichever happened first, I would reassess then.
One fateful midday, even before I ran out of paint or all of the walls were painted, the sun peeked around the disheveled furniture and lo-and-behold, the EXACT color I imagine. Go figure it was a lighting issue. More lightheartedly, I finished painting the room. And maybe I was just imagining seeing the color I wanted when the room was all painted, but I took a break of relief stepping back. Once I finished painting all the walls, the color played better off one another…at different times of day, even!
Adding Moulding
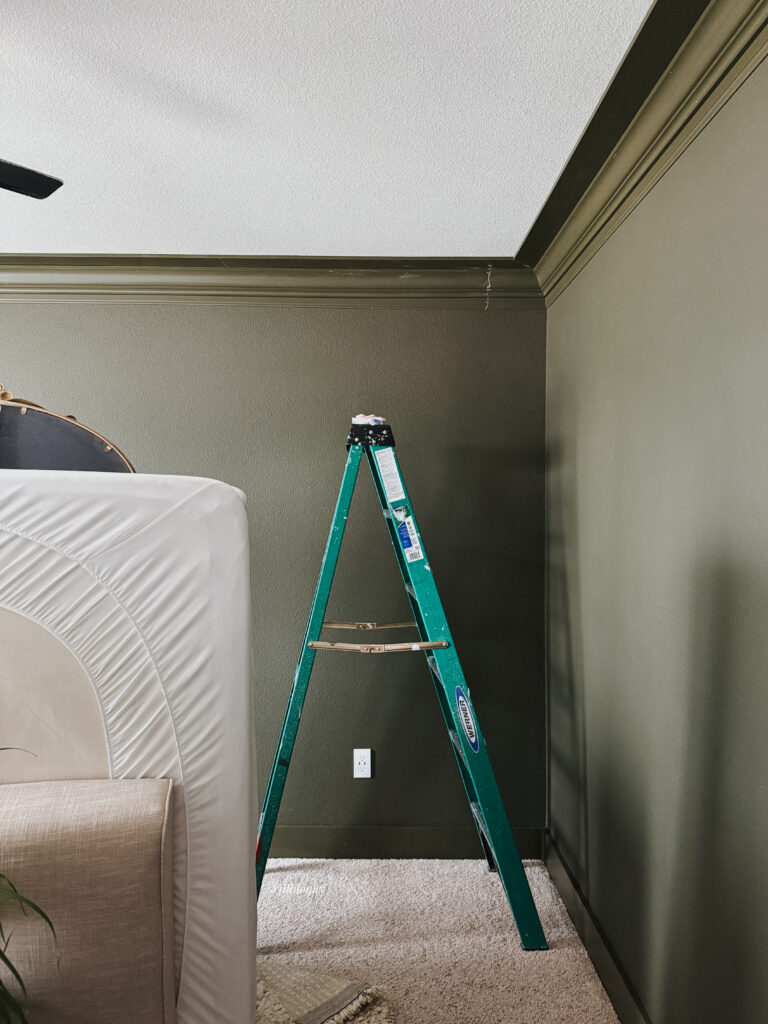
Next up was adding a crown detail to the room. Installing a more substantial crown look – layering 3 different kinds of moulding – was my way to keep the room more interesting. While the paint color didn’t end up being *too* dark, I pivoted from an original idea to color drench the room. If the room had taller ceilings or more windows, I may have reconsidered. The slowest part of this step of the room refresh was the math. I broke out my trigonometry skills to figure out what lengths to cut the different pieces of moulding to achieve the look I wanted. Fortunately we’ve gained a lot of experience installing trim in different rooms in the house so installation of this trim was smooth sailing.
Finishing Work – IT LOOKS WORSE BEFORE IT LOOKS BETTER!
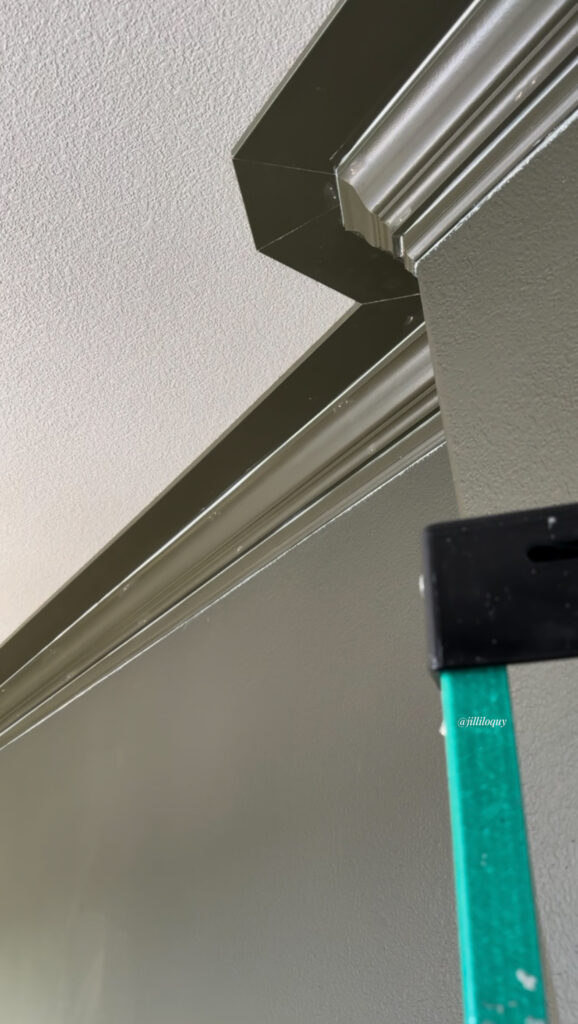
After trim installation, it was time to work on the crucial but so unsexy parts of DIY… the finish work. I lathered on caulk like it was my day job. I wood-filled like a mad woman. And, just as quickly as the room was taking visual shape that aesthetic disappeared. BUT, finish details ASAP are the right thing for me to do, so I’ve learned. I let everything dry for about 12 hours. And, almost as soon as things turned for the worst aesthetically, they were shaping back up. Sometimes it looks worse before it looks better but in the end the details work themselves out.
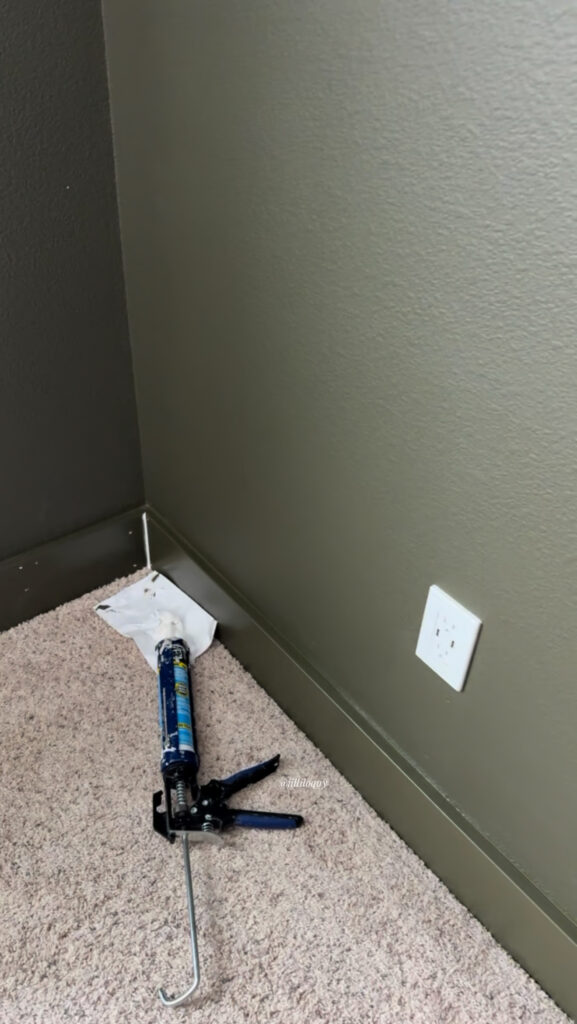
***Actually, I forgot to mention baseboard installation earlier! I was dead set on knocking out finishing details ASAP. Immediately after painting the walls I hit it hard with removing the old baseboard and installing the new. I painted the new baseboards before installing the old to mitigate any painting of the carpet. New baseboard installation went so smooth and quick that I almost forgot about it. PLUS, this install may have been a record for this house: shortest mount of time a space has gone baseboard-less. 🤪
ADDED DETAILS
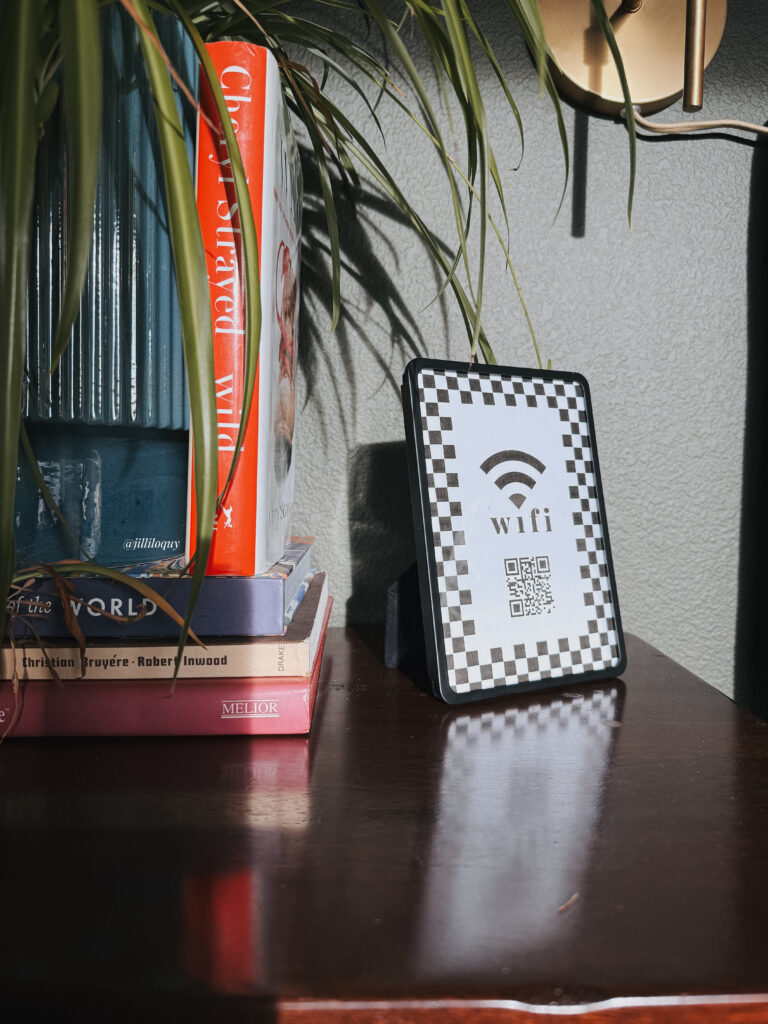
And what’s a “quick” refresh in Jill fashion without adding the most niche details? I’ve had it in my head for years to have a display for the WiFi information. I learned how to utilize late 20th century technology and made our own custom QR code for the Wi-Fi really easily with my phone.
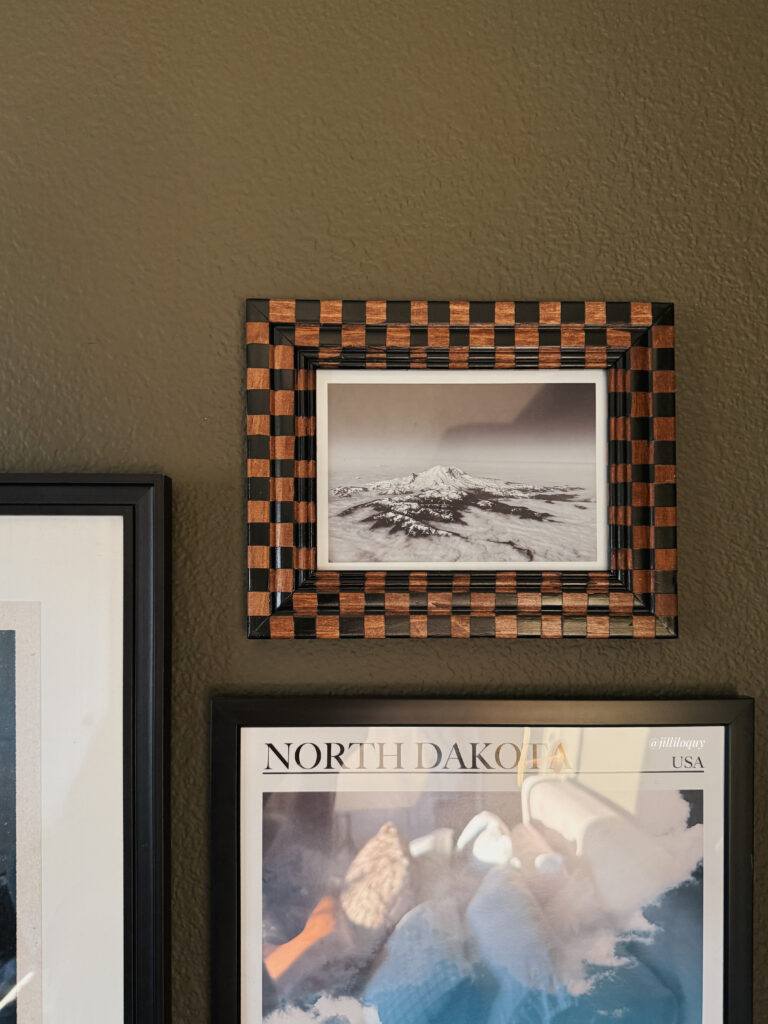
I was also determined to incorporate a checkered pattern into this room. This addition would add more geometric shapes to the frillier lines (the crown moulding, the mirror, the rug). I saw one I really liked at a big box store but why buy when you can get messy and make your own one-of-a-kind checkered frame?!
A NEW ERA: Moody Guest Room
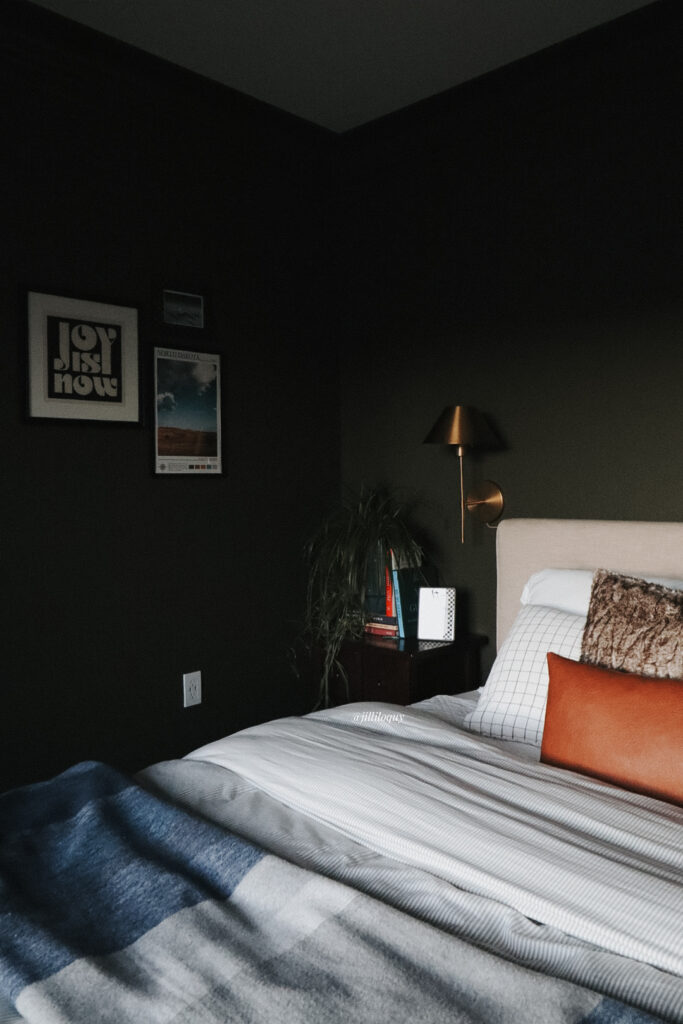
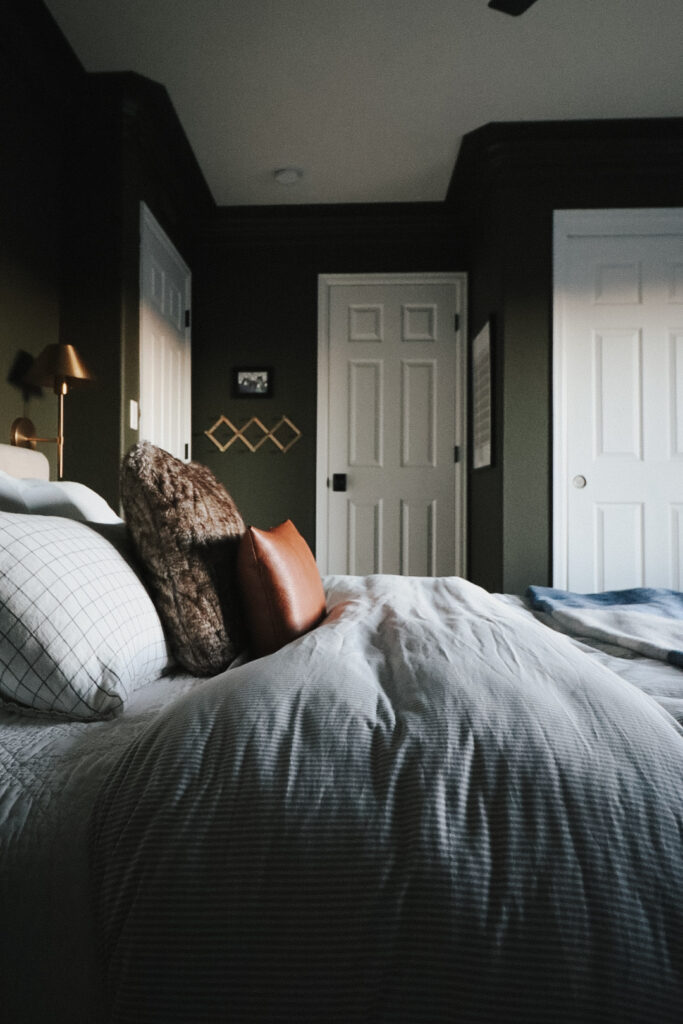
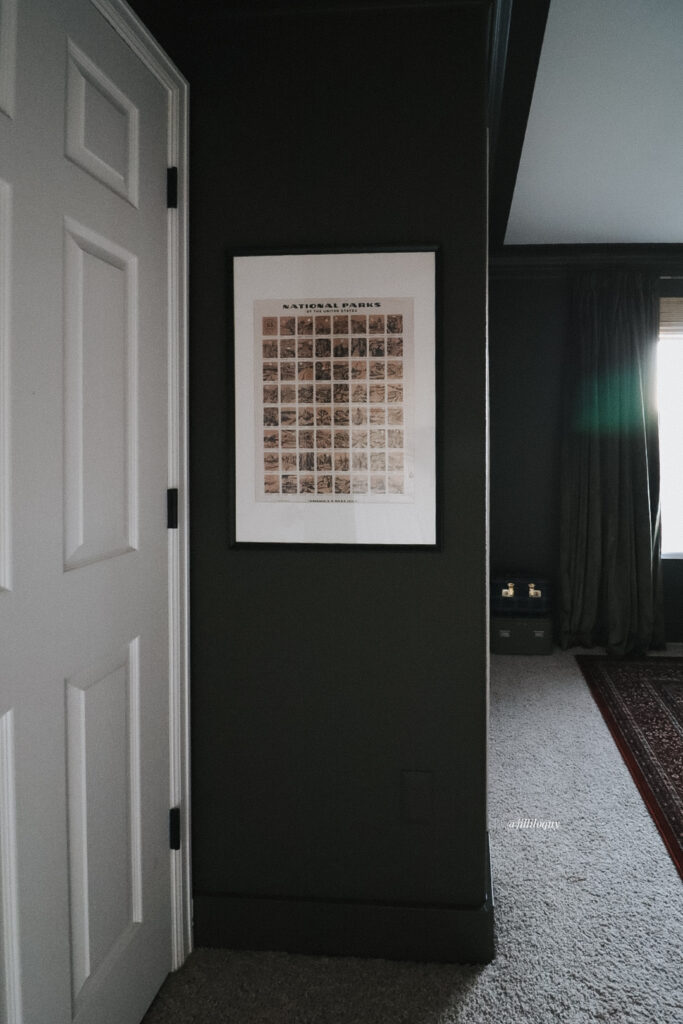
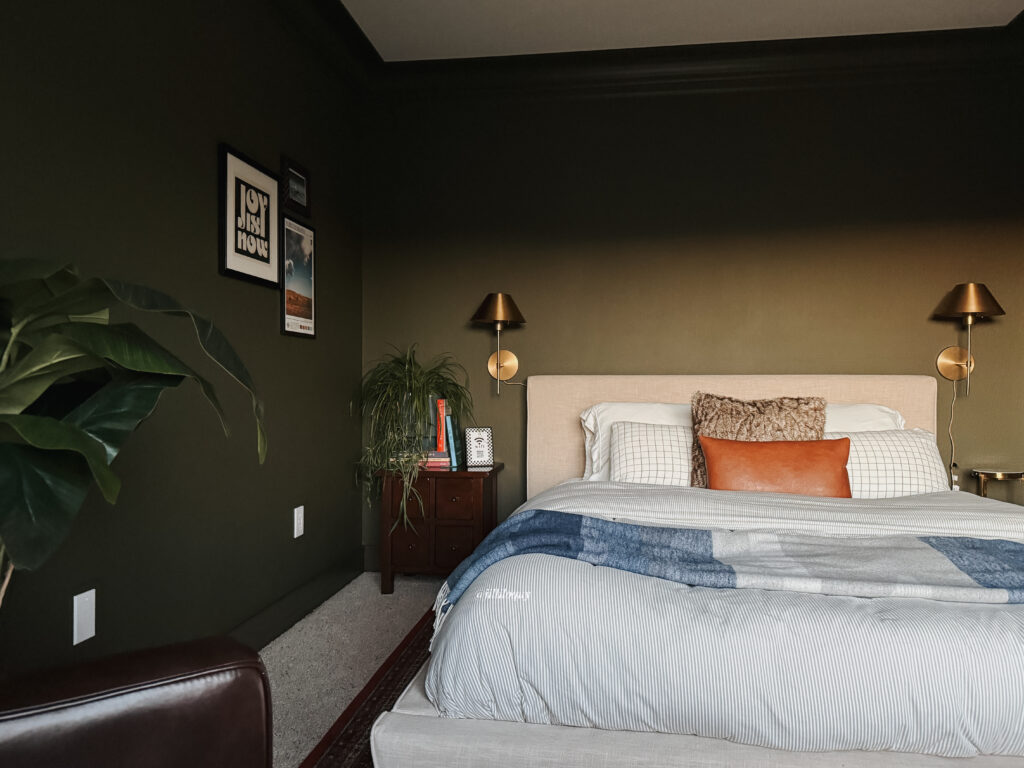
Overall, the guest room is still in its best era yet! She’s ready to greet guests BUT, just as an intuitional home takes time, I am keeping my eye out for more art to round out the space. AND, I may have a few more ideas up my sleeve that I’m looking forward to bringing to life in the near future. Stay tuned to how this moody guest room continues to evolve!
