

This post contains affiliate links, which means I may earn a small commission on purchases made through the links provided, which enables me to provide more resources just like this; all at no extra cost to you. Thanks for your support!
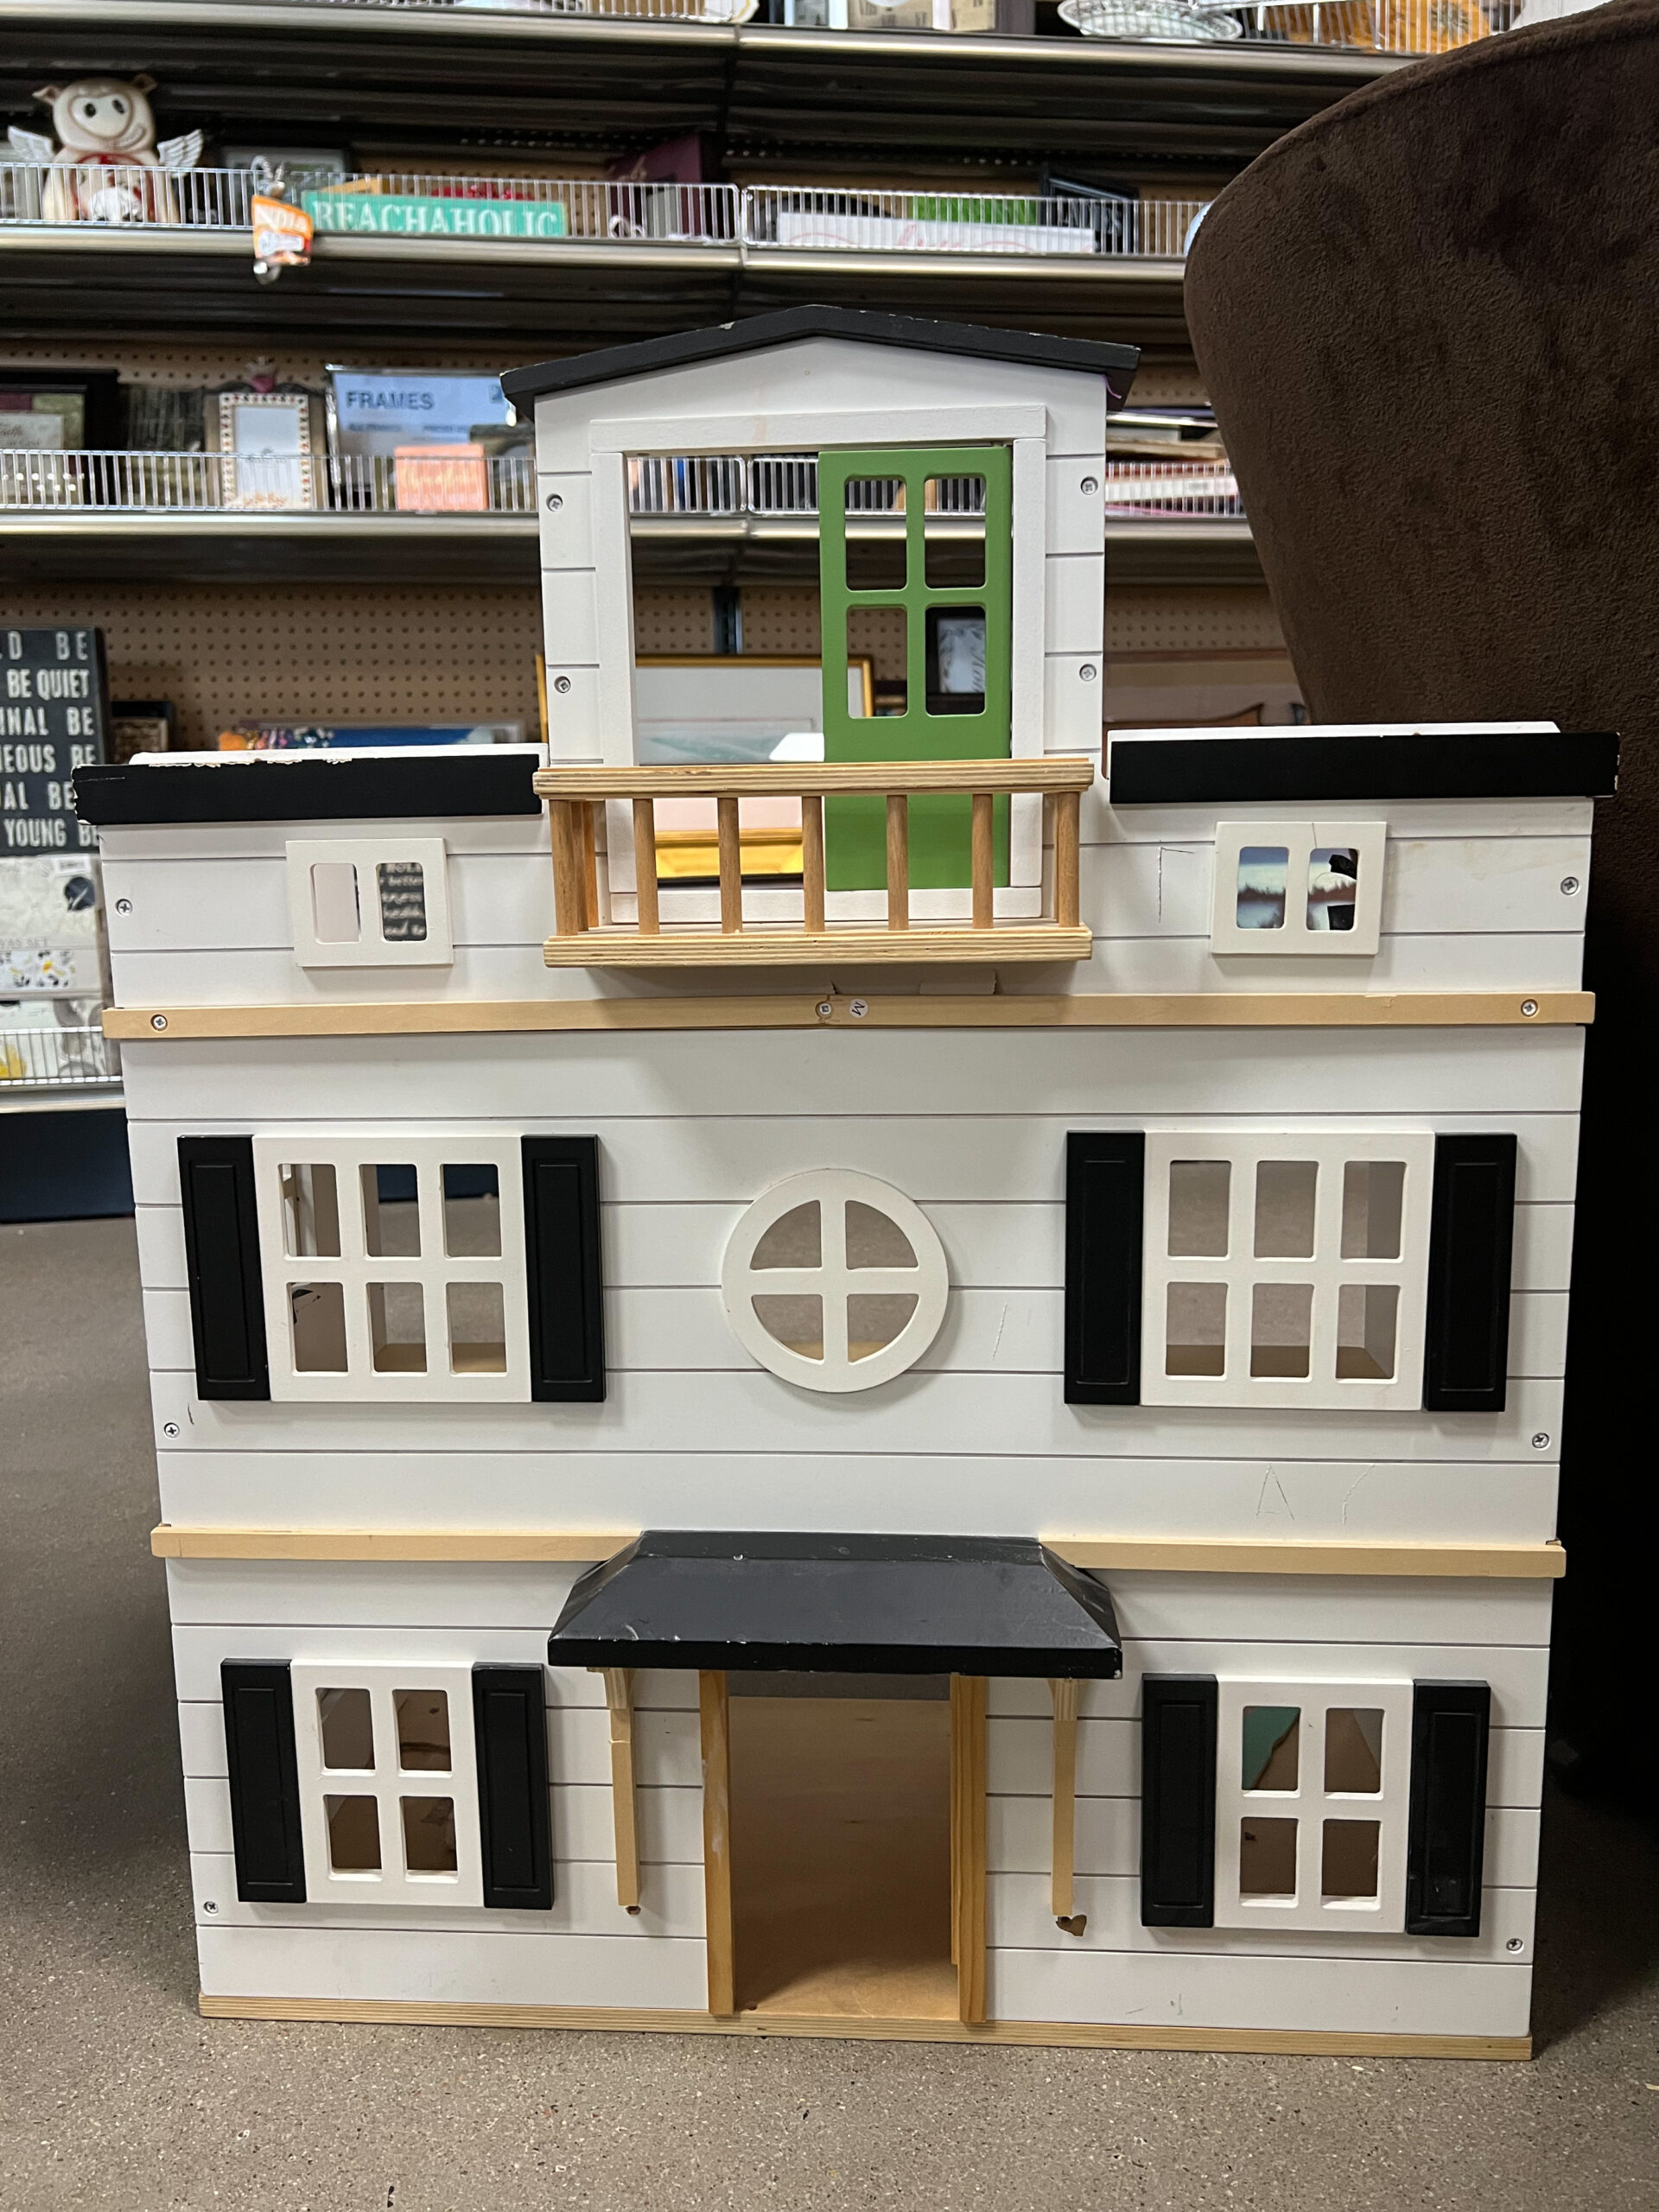
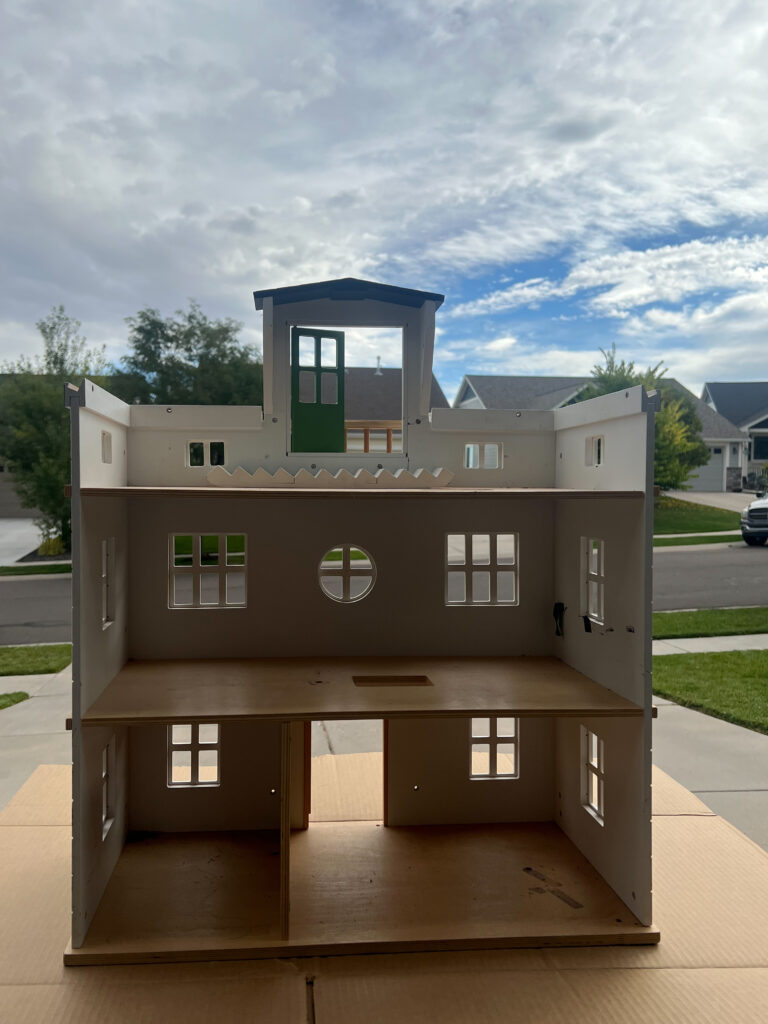
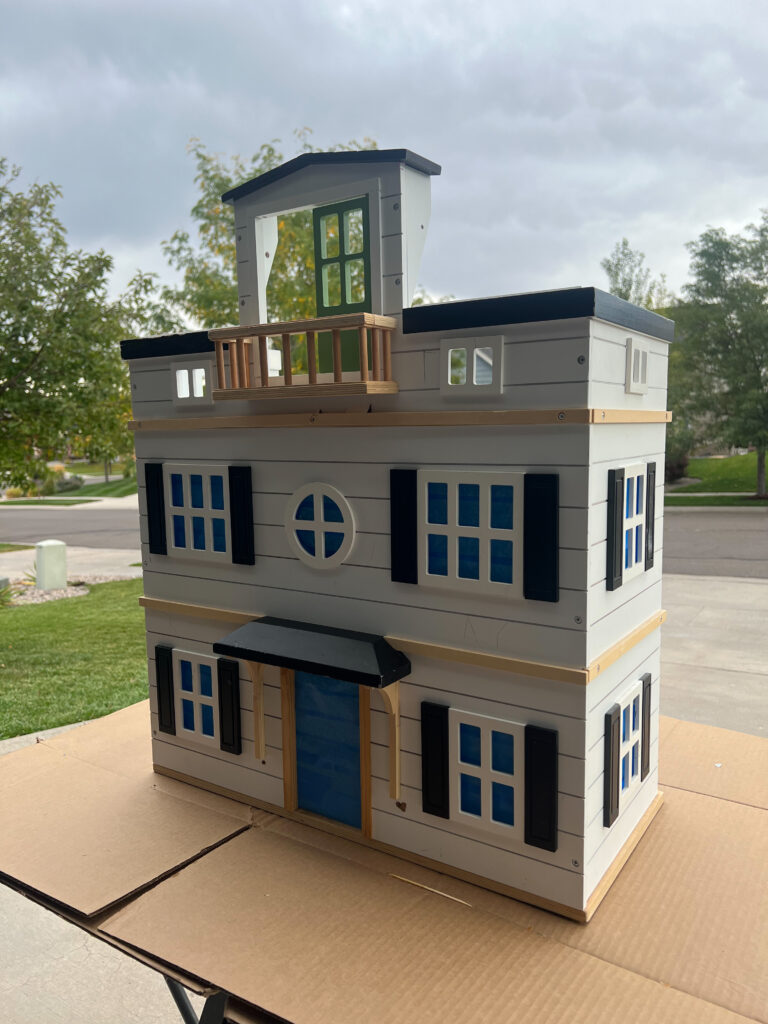
A few weeks ago I was thrifting and scored one of my best finds in recent history. I found this house sitting unclaimed. It was a little beat up, missing a couple doors but it was perfect nonetheless to give it the Halloween dollhouse makeover of my dreams.
Remodeling the Dollhouse Exterior
Finding the Dollhouse
I snatched up this thrifted dollhouse faster than you can say, “Hocus Pocus”. It was a little beat up and dirty but, for less than $10 out the door I wouldn’t pass it up. Plus, we own some of the other toys from this collection so I knew it was still solid with a lot of life left in it. While thrifting can be pure luck and chance, going more frequently has increased my likeliness of finding scores like this over time.
Cleaning It Up
The dollhouse was well-loved when I found it. My first order of business after it arrived home was cleaning the exterior of any loose debris so paint would stick better. I wiped it down the best I could using a mild household cleaning spray. I also sprayed down the inside of the house to remove as much stickiness from old tape and undoubted hours of previous play. After it was all cleaned up, I had a fresh canvas to give it new after life.
Paint Prep
I taped off all of the windows, floors, and main door. I wanted to preserve the interior floors for a potential interior makeover. As a future project I may redo the inside of the house but I told myself I would knocked out more projects in my bigger house before I go down a miniature home decor spiral. ;P
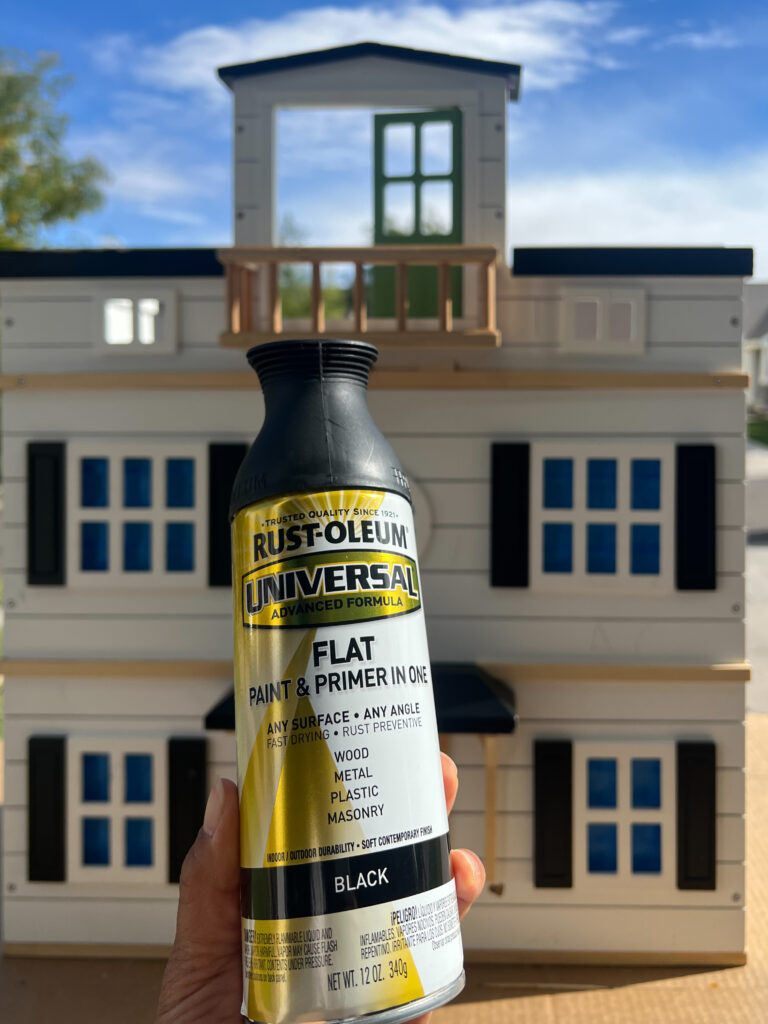
Paint
After prep, it was time to paint! I chose a paint and primer spray paint to make painting more efficient. One thing I forget, which I tend to do when I haven’t spray painted in awhile, is to wear a glove to protect my hand from overspray. Spray painting is efficient but it’s also a beast for me to get off my skin.
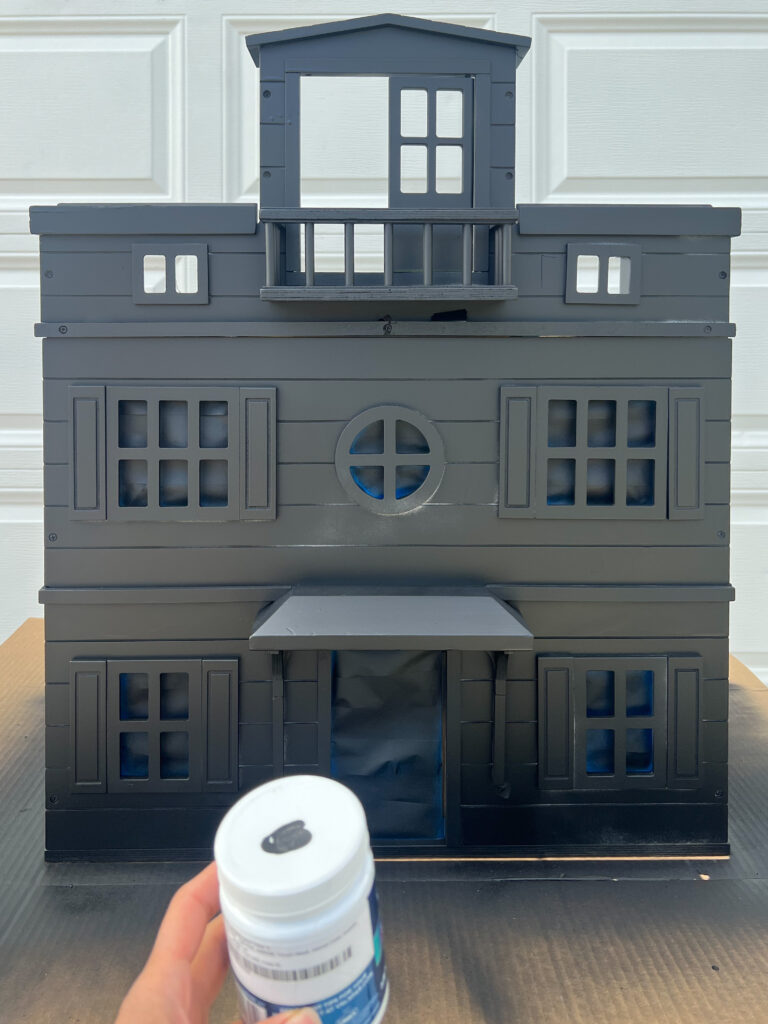
One Step Forward, Two Steps Back
After a coat of flat black paint, I planned to paint the window sashes and shutters a satin sheen of black with a bit of leftover paint sample I had lying around. In my head it was tonal; it was contrasting sheens… but once I started painting with a brush I knew it was a mistake. SO, I pivoted back to the all flat back house and sprayed another coat of spray paint.

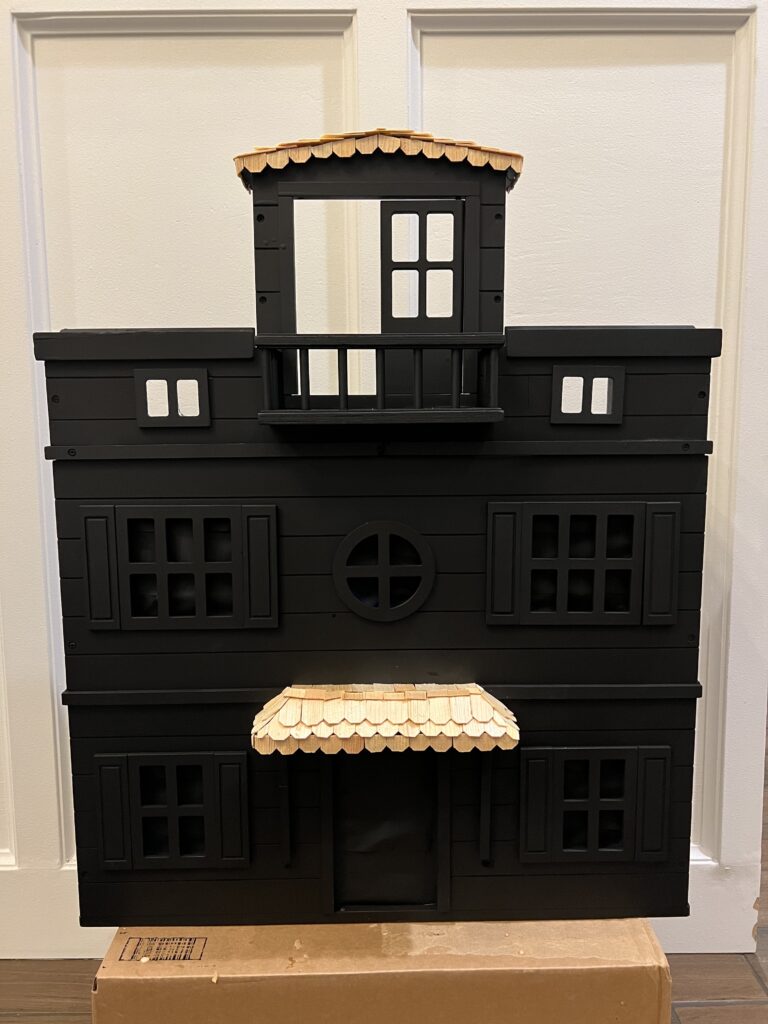
Roof Installation
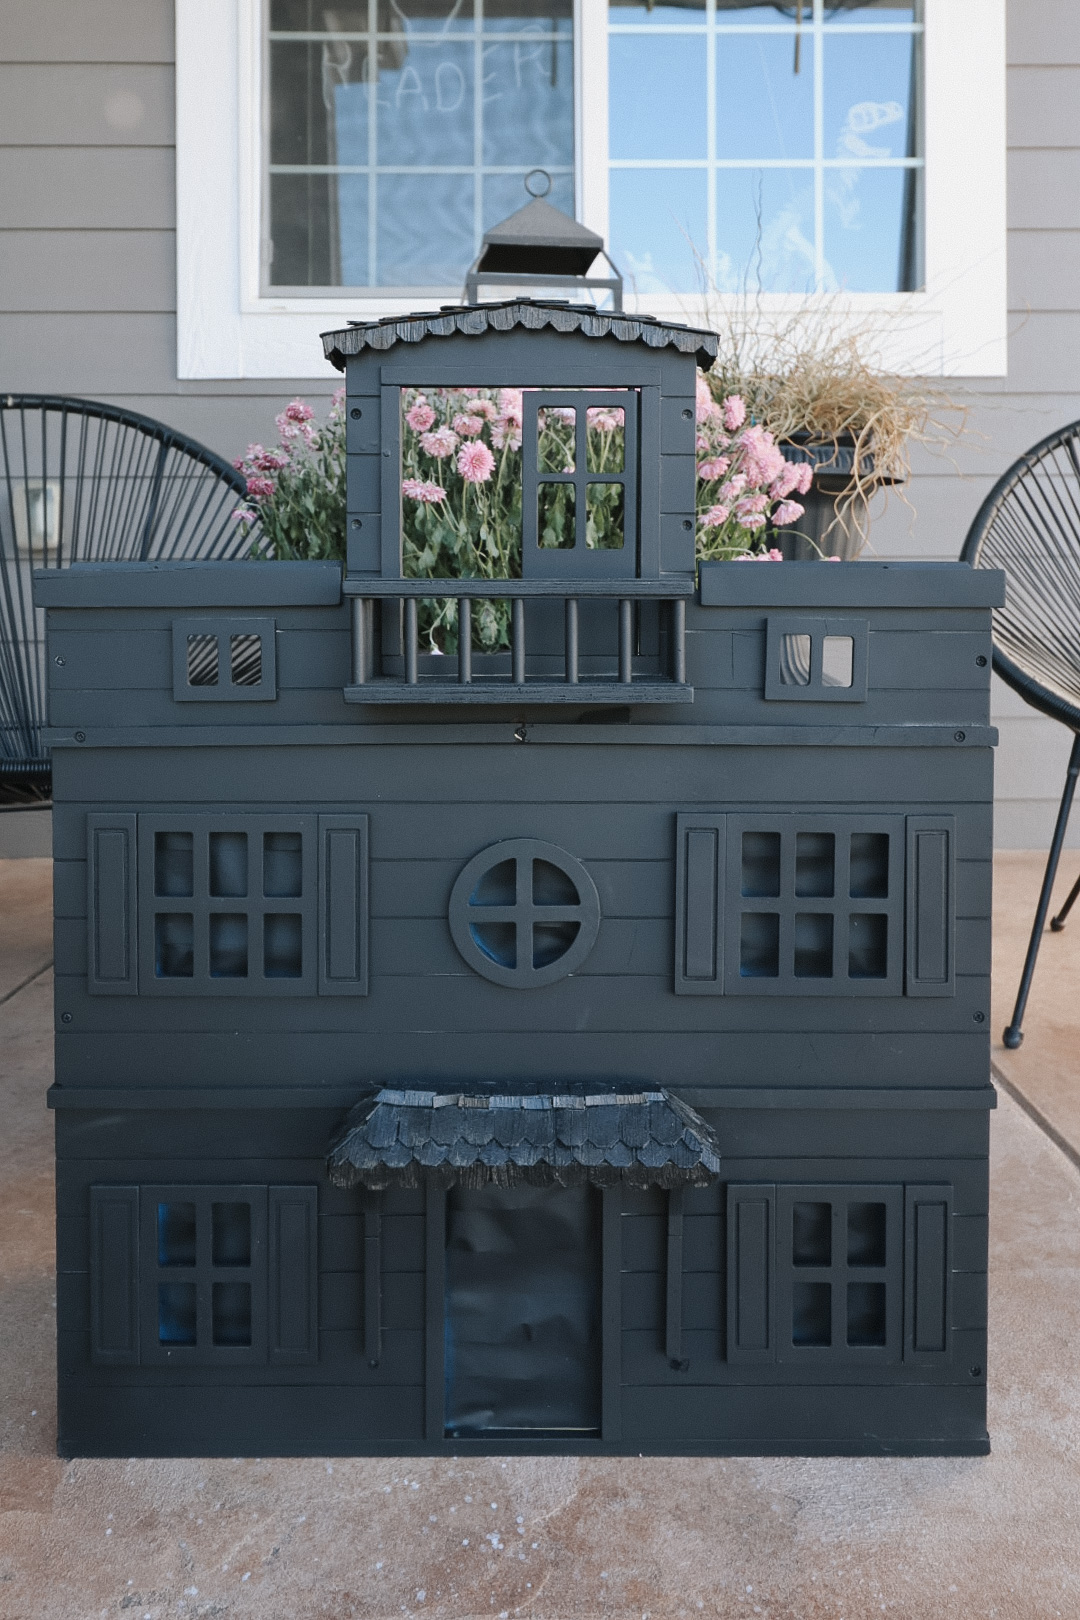
Once the house was painted black, it was time to add a spooky detail. I found octagonal dollhouse shingles at a craft store. When it was time for installation, I put on a Halloween movie and cruised through adhering dozens of tiny shingles to the roof. The instructions that came with the roof specified to not use a water-based adhesive to prevent the shingles from curling. I used this glue and found no issues with that.
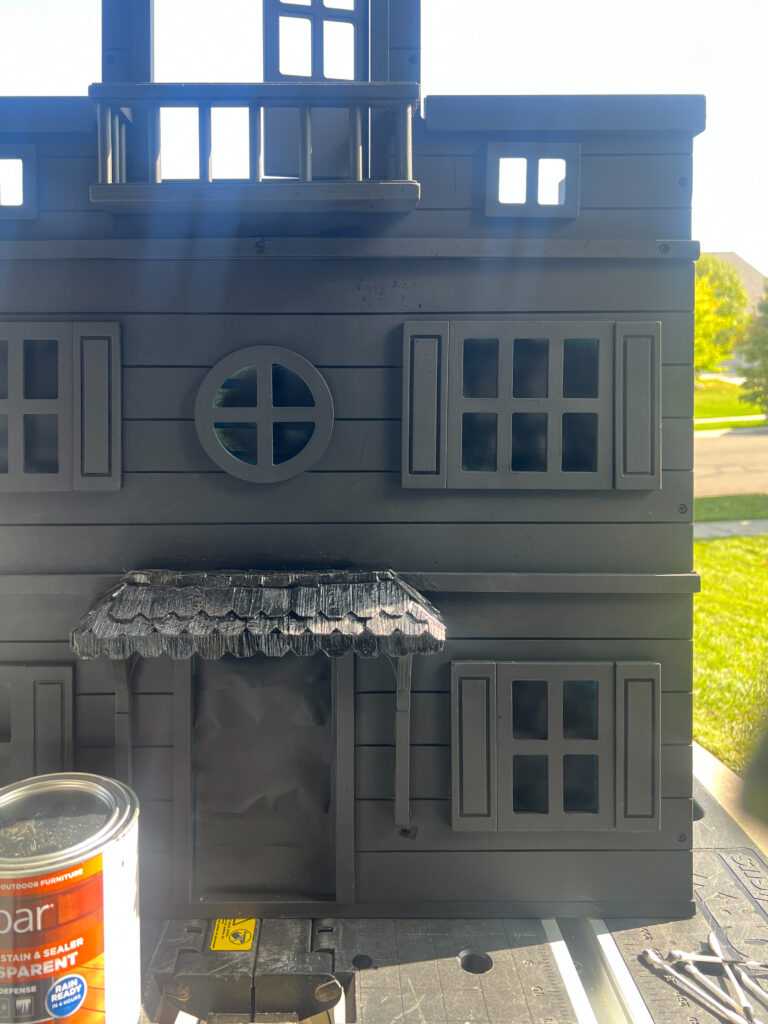
Painting the Roof
I painted the roof using leftover wood stain and sealer from my industrial plan shelf project. It feels good to use previous project supplies! I used cotton swabs to clean up any drips.
Clean Up
Next, I removed the tape from the windows and the coverings from the floors. I left the tape on the front door to keep a less inviting look. I considered staining popsicle sticks to make makeshift 2×4’s to board up the missing window areas. I liked the clean, all-black look though so I put the idea in my back pocket for a future update to the dollhouse makeover.
Finishing Touches
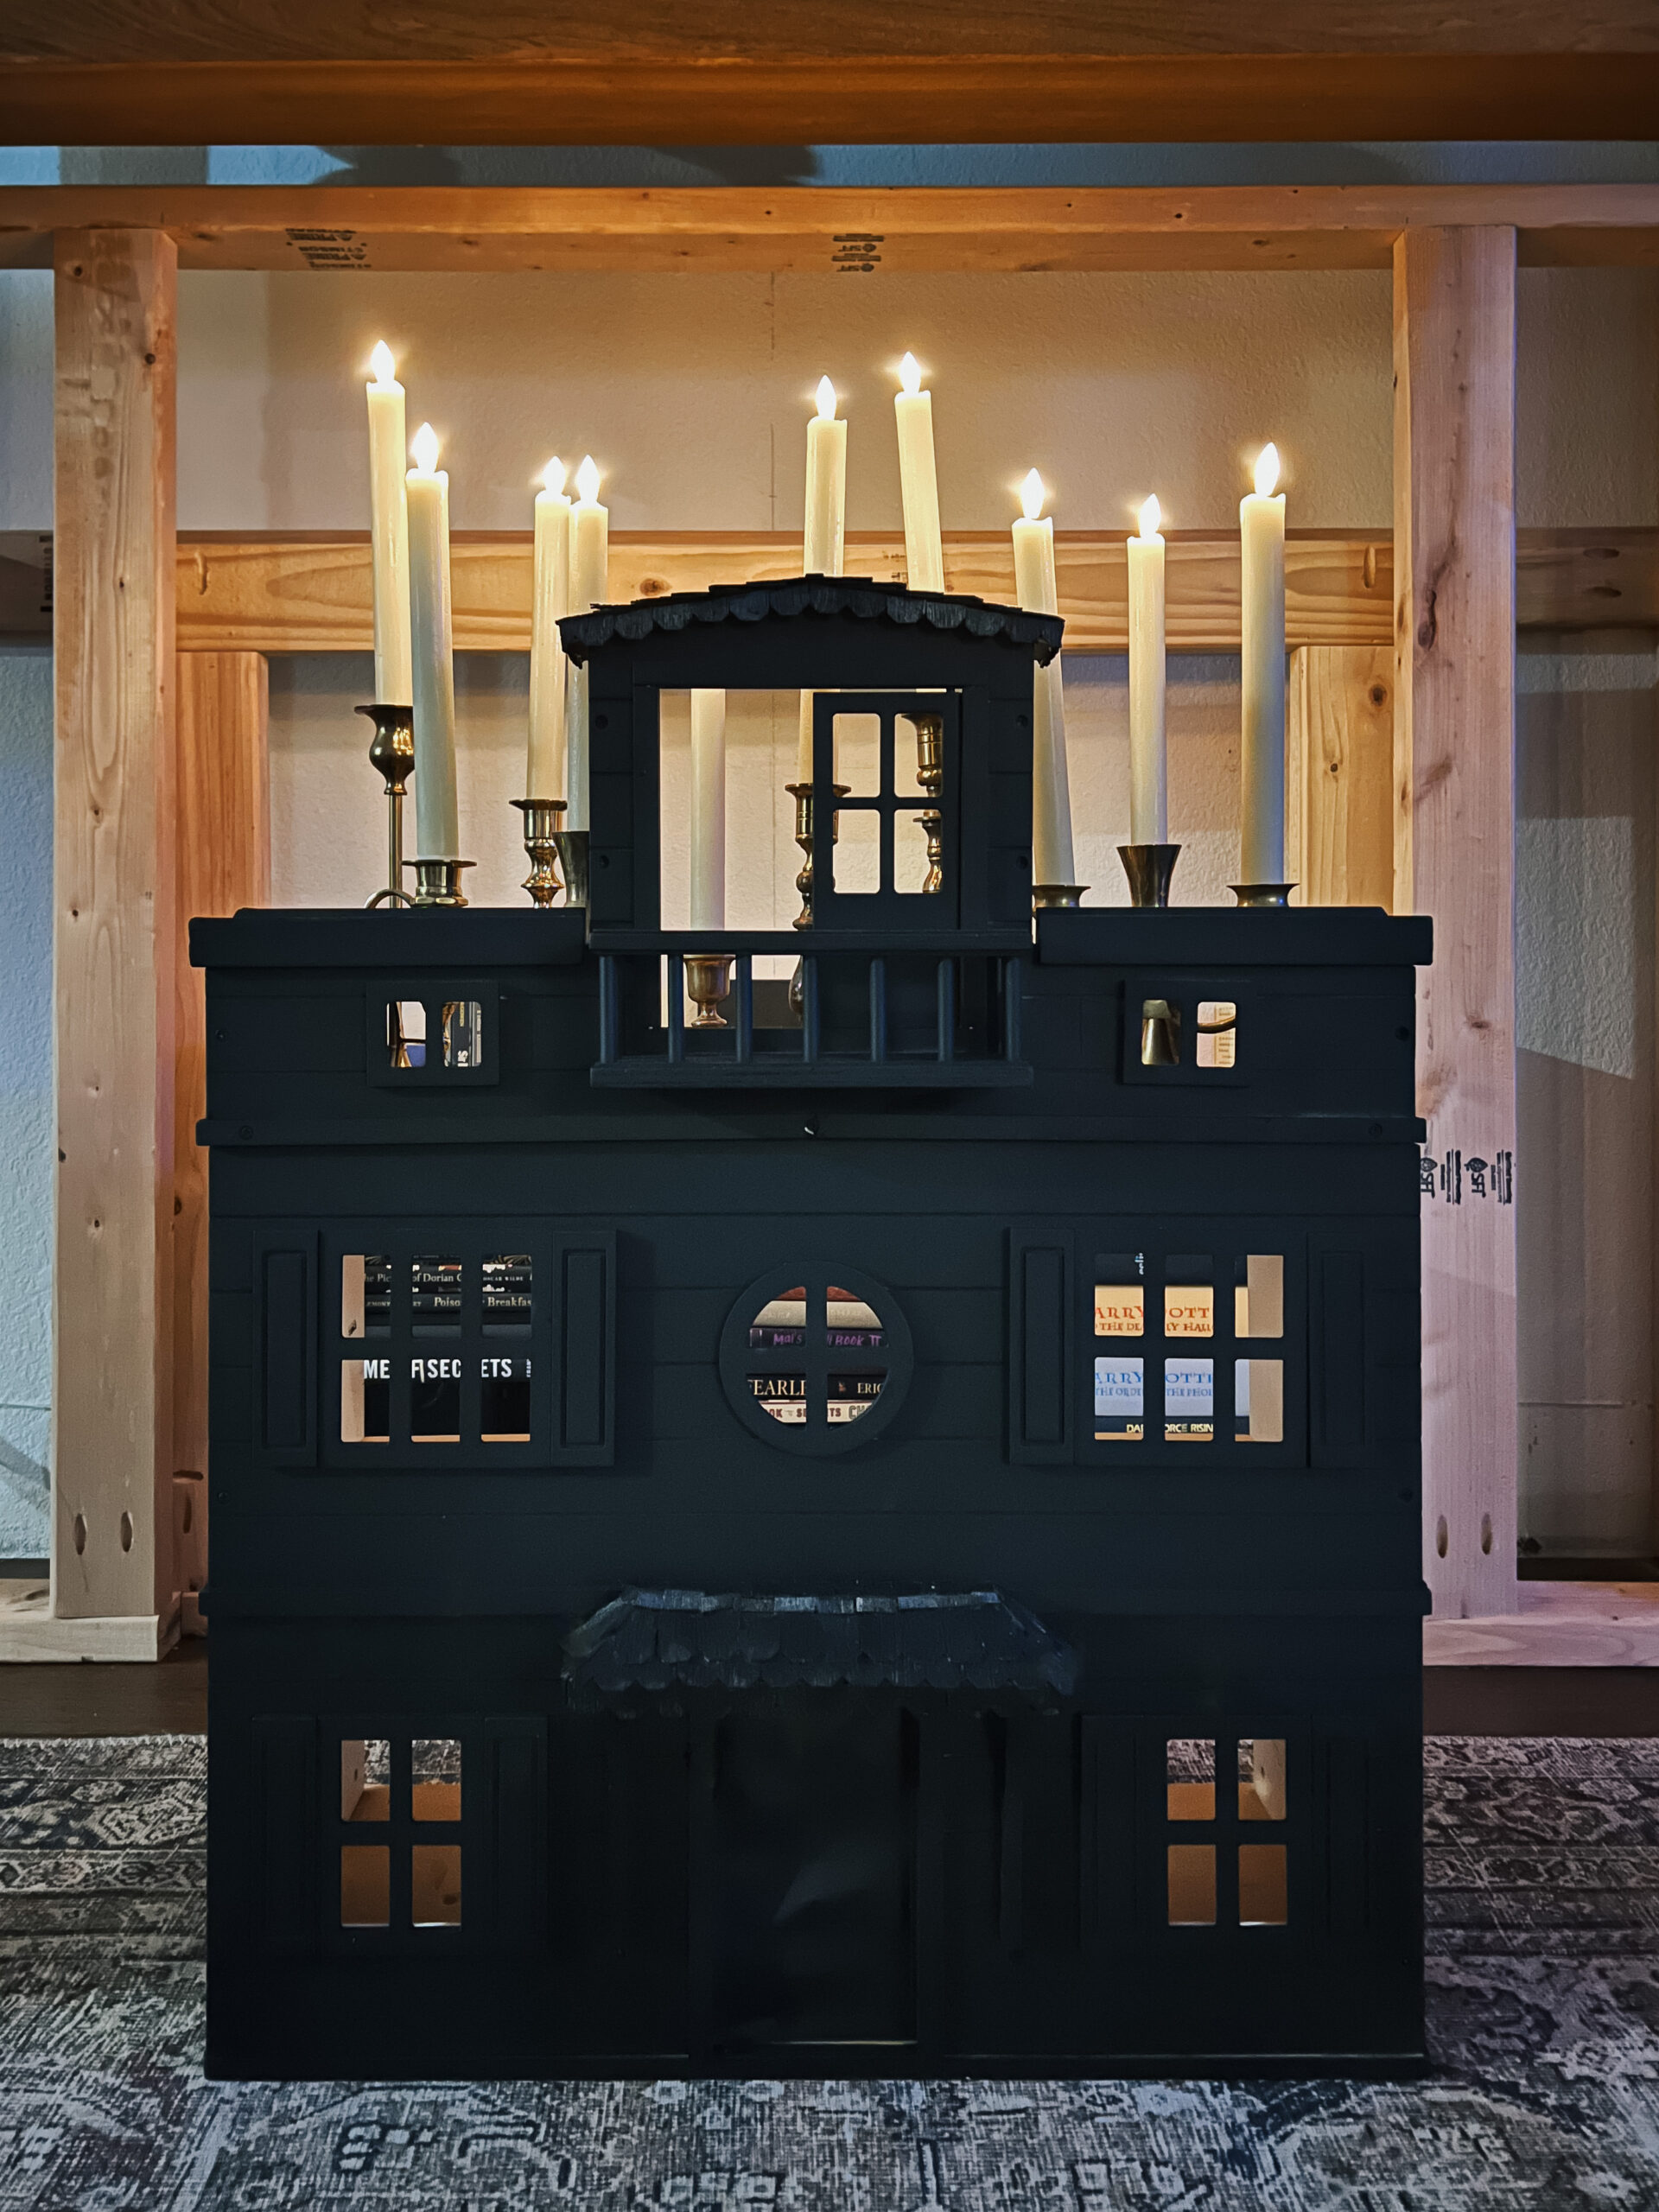
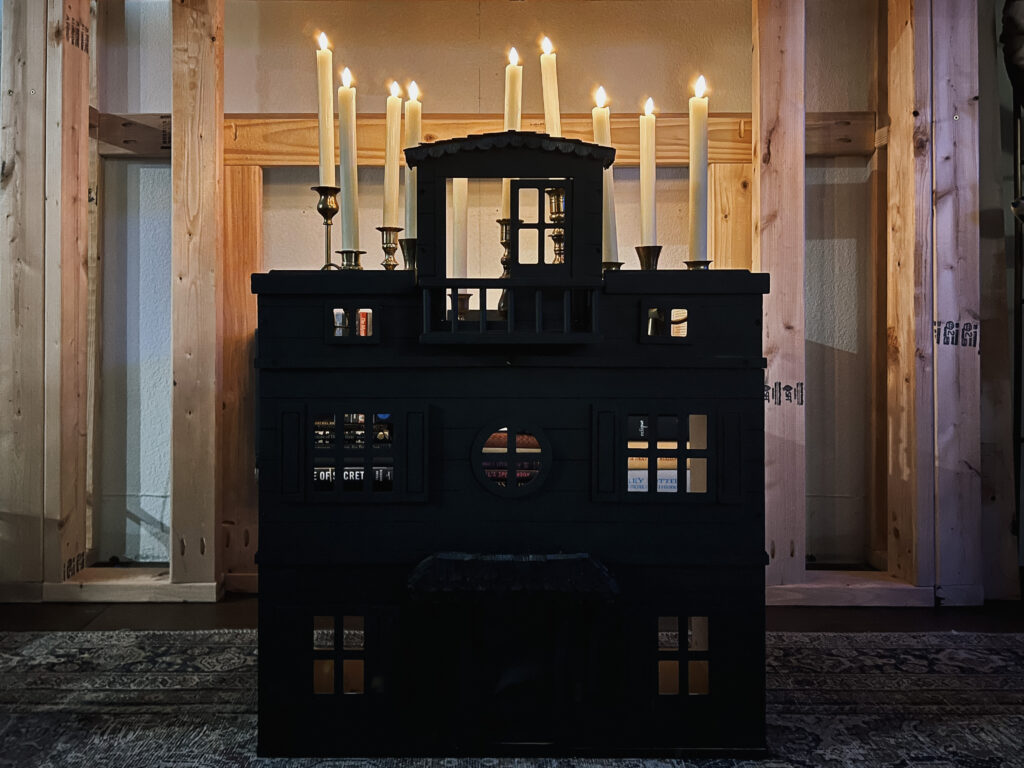
And finally… what would I use this dollhouse for? In the off-season for playing, sure, but after laying my eyes on the open ‘attic’ area of the house in the store for the first time, I immediately pictured a platform to hold my collection of thrifted brass candleholders and go-to flameless taper candles.
And she turned out just as awesome as I had imagined:
Project Sources for the Dollhouse Makeover
secondhand dollhouse – thrifted locally – this is the dollhouse brand new, if that’s more your jam
black spray paint for main house body – Rust-Oleum 245198 Universal All Surface Spray Paint
Glue for Shingles – Gorilla Ultimate Wood Glue
pine roof shingles for dollhouse – craft store
Black stain for roof – Valspar Wood Stain and Sealer; 1 qt.; semi-transparent; darkest night
Flameless Candles


