

This post contains affiliate links, which means I may earn a small commission on purchases made through the links provided, which enables me to provide more resources just like this; all at no extra cost to you. Thanks for your support!
A Dining Table Journey
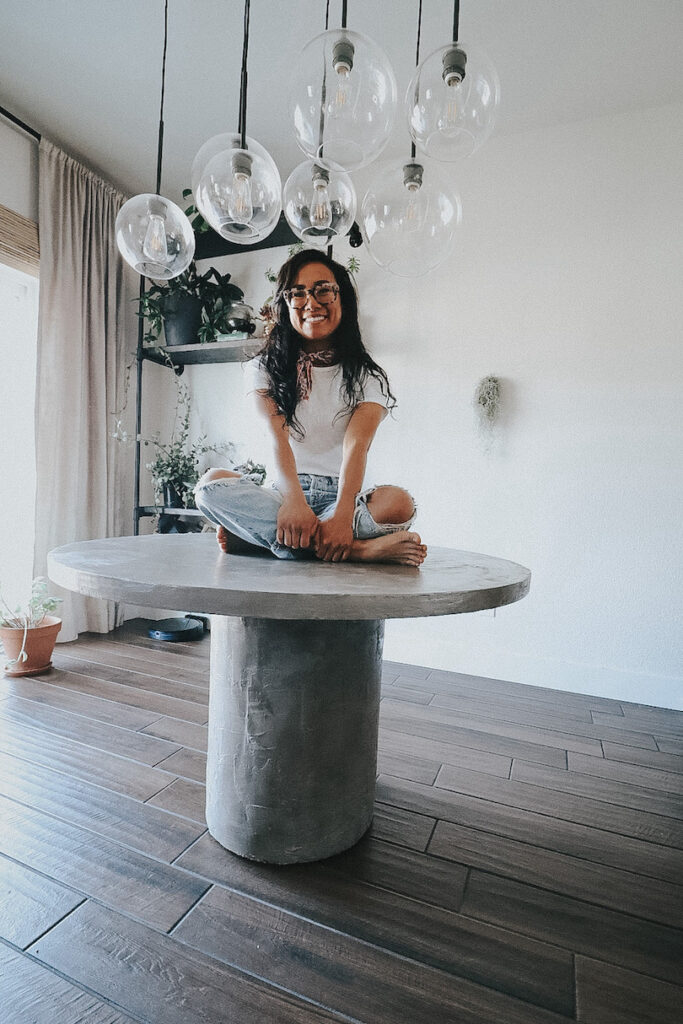
Almost 6 years ago, my journey for finding a new dining table began. I was previously gifted a secondhand table that lovingly held dinners in every apartment and house I have lived in over the past decade+. After moving to this house, I felt I was outgrowing it but finding a new one proved a real doozy: I knew I wanted a round table but I didn’t know what light to get to hang over it – the previous light was the a cousin to the boob light (read: a super generic light). Some of the round tables I found were out of my budget, and my DIY confidence was still meek.
Eventually I found a light. And although I loved it, after it was installed I realized it didn’t lend to being over a round table. So I found a beautiful, rectangular, extendable walnut table, which has since hosted crafts and parties and puzzles and meals of 14+ people. But as the plants that live here have outpaced the guests who visit, I have arrived back at my heart’s desire: a round table.
After scouring the Internet for resources on what concrete to use to DIY this project – and there are a LOT of different products out there – I ultimately opted for a [cement skim coat] product based on product reviews (as a skim coat for countertops), price, and availability locally.
And, after researching several sealer options, I did opt for buying [a concrete countertop sealer] online. It is labelled as “food safe”, which was my main concern having this product in direct proximity to where meals are eaten at least twice a day. I also thought of all the table table licks because kids at least eat the stuff that isn’t on the plate, ya know?
Everything builds to something! Going back to my experience skim coating sooo. many. walls. contributed to making this an easy, low stress project. WITH, the more organic look I sought.
And just like those food blogs that make you read through the story before you get to the recipe, I present to you: my process for making a DIY concrete table from an old table.
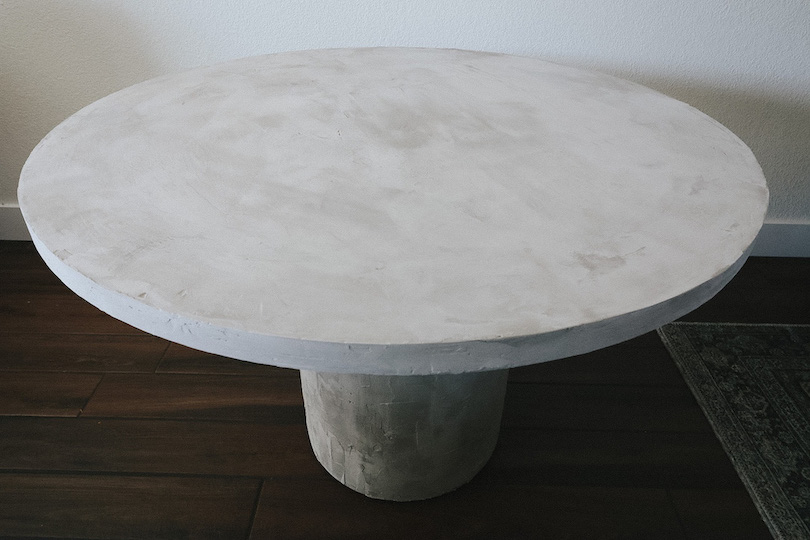
HOW I MADE A DIY ROUND CONCRETE TABLE
Materials
- Table
- Orbital Sander
- 80-grit sand paper
- 120-grit sand paper
- Tack cloth
- skim-coat concrete
- bucket for mixing concrete
- drill mixer attachment
- taping knife
- Tiling Sponge
- sealer
Making the DIY Round Concrete Table
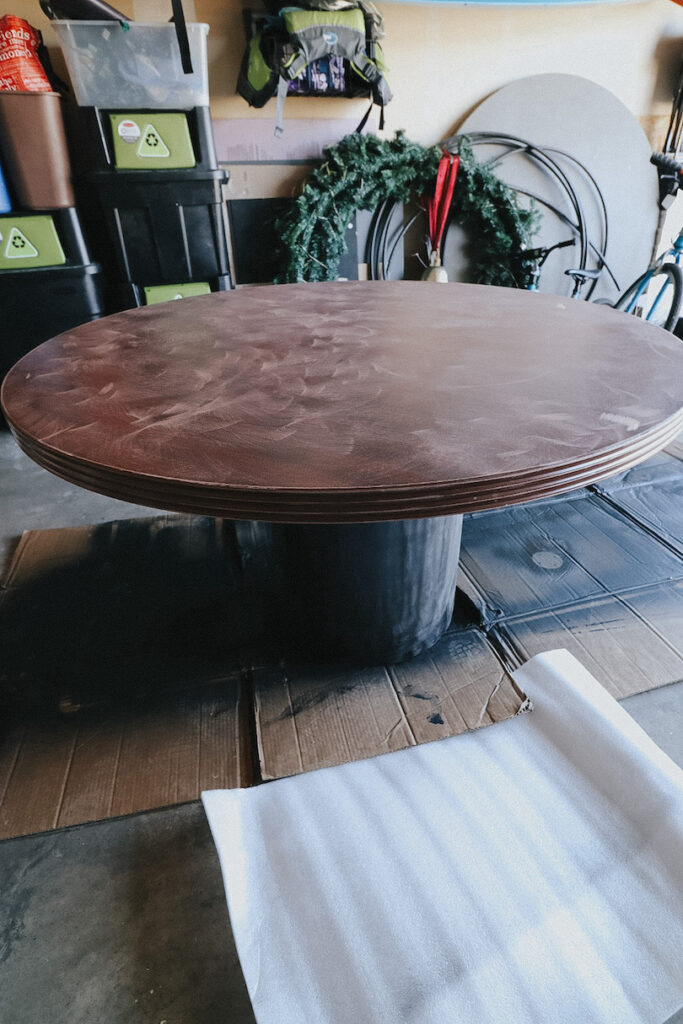
1) I found a secondhand table.
While this was a quick and easy project overall, this part of the process took me the longest. After months of scouring Marketplace, garage sales, and thrift stores, I finally found a table that was exactly what I was looking for. My only tip here is that consistency is key! Keep looking, you never know when what you’re looking for will pop up.
2) I used 80-grit sandpaper to sand down all the observable surface of the table outside.
I read that a roughed up surface would help the concrete adhere better. I sanded outside because 1) toxic flakes indoors and 2) I don’t prefer to dust.
3) I wiped the table of debris using tack cloth.
Again, the concrete sticks better to a roughed up surface. Dirt gets in the way of that.
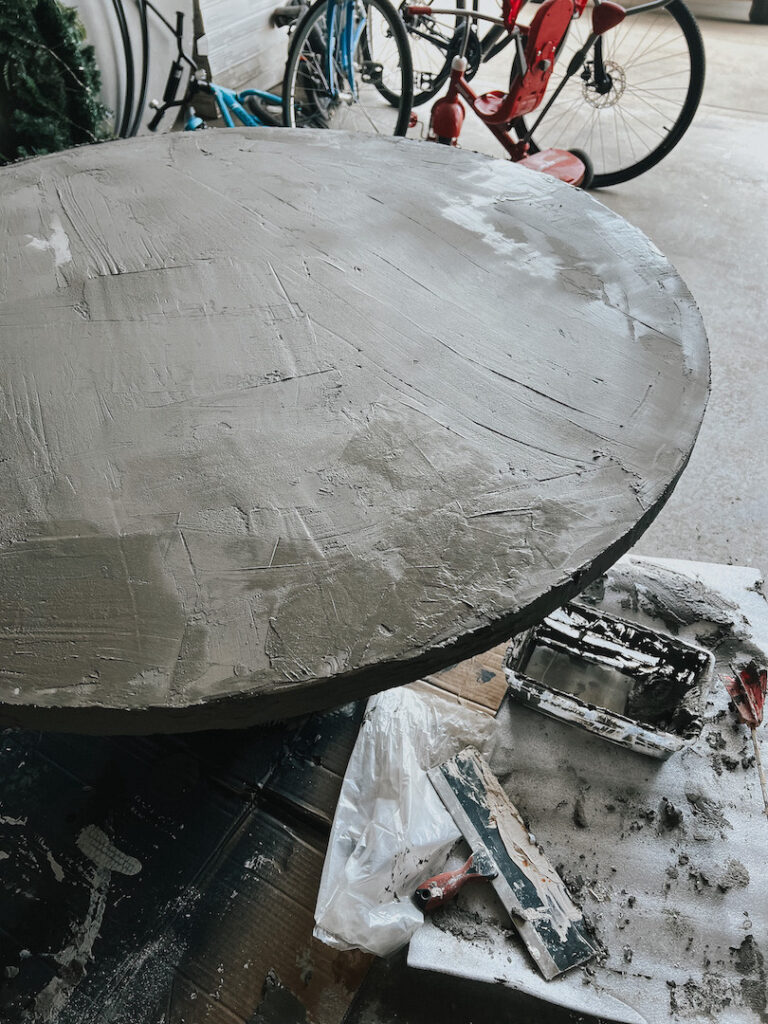
4) I mixed small batches of the skim-coat concrete and applied in THIN layers.
I made a couple cups of the concrete at a time so that the product would not dry up before I could use it all. Then, using a taping knife I applied the concrete in thin layers.
5) I didn’t sand between layers.
This is where my process vastly diverged from other endeavors I read about in reviews. Many people opt to sand between coats; I wanted to avoid excessive sanding. I got curious and phoned a friend familiar with concrete. Their recommendation? Sanding at the beginning is important; additional sanding would depend how smooth I wanted my surface. Sold! I decided I would skip sanding between layers (see step 1 for similar reasonings). I used a wet tiling sponge to smooth out some areas before the concrete fully cured but no dusty sanding between layers for me.
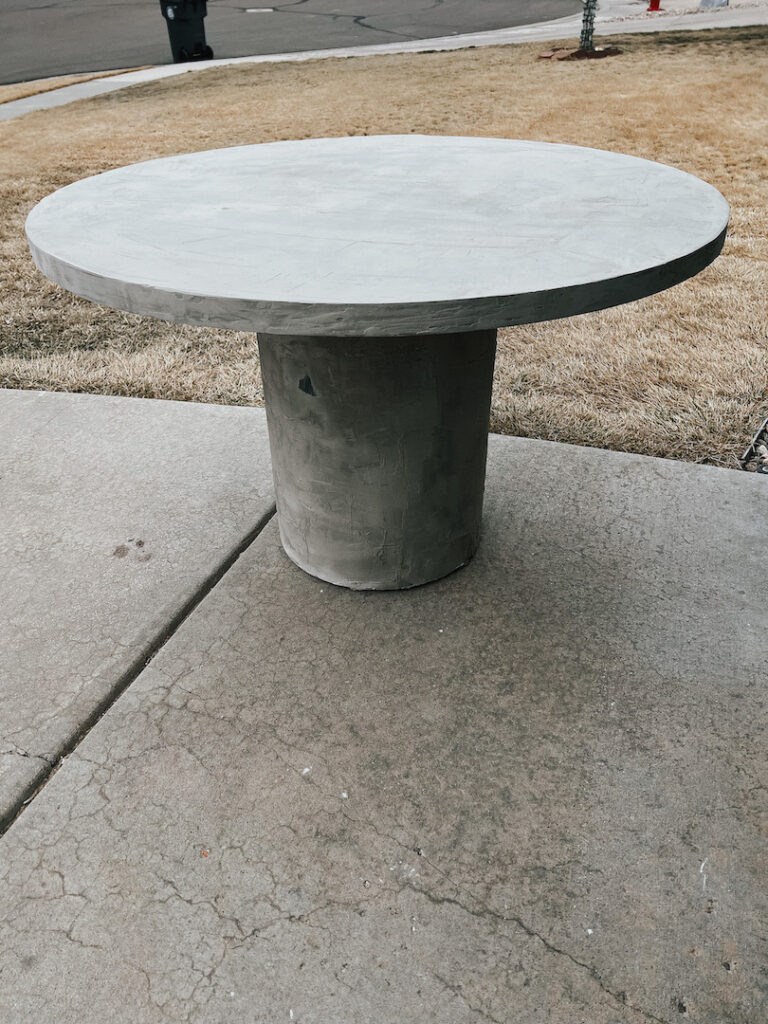
6) I sanded the last coat with 120-grit sandpaper.
I wanted the table to generally be smooth, but the kind of smooth that was a mix of level and organic, less of “I gave up after failed smoothing attempts”. It definitely has some character and I like it that way.
7) I waited about a week and then sealed the table.
I was traveling after I finished sanding the last coat of cement, otherwise I had planned to wait 72 hours before sealing. I do plan on resealing this table regularly.
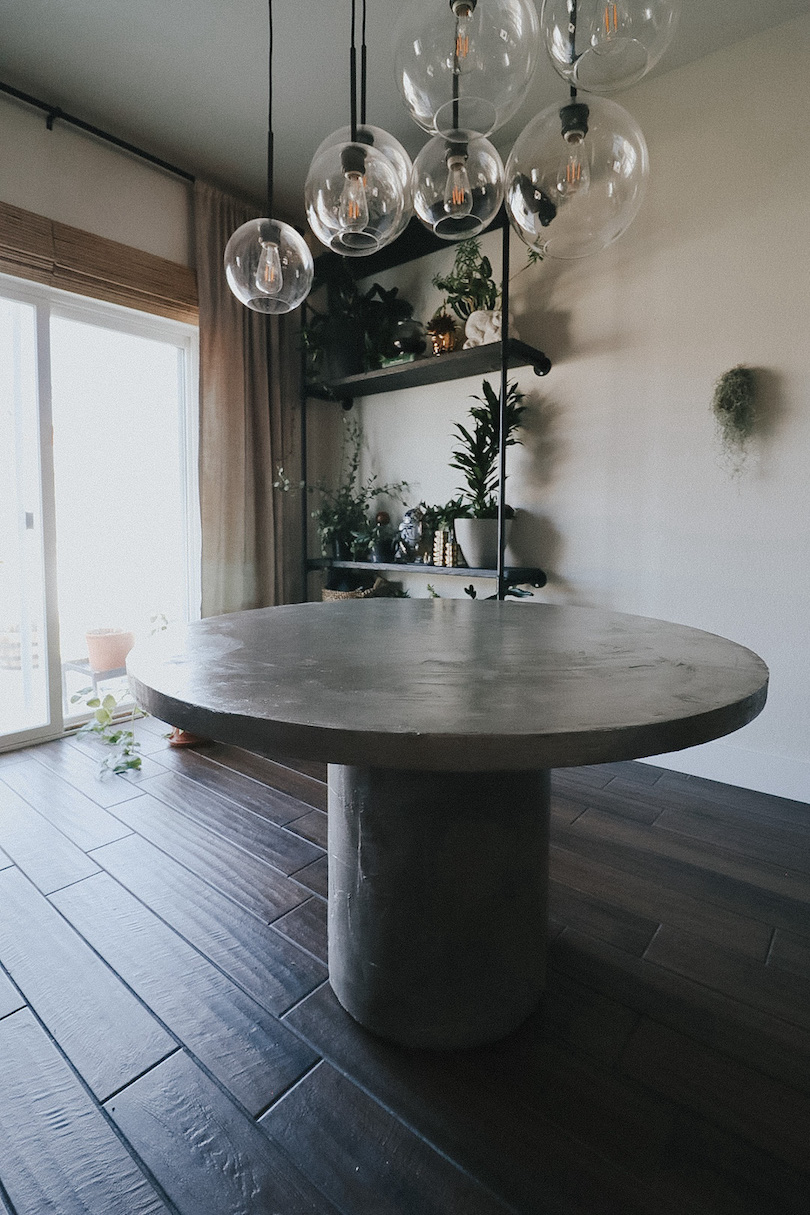
8) I sat back knowing a round table was meant for this space all along.
DIY Round Concrete Table Price Break Down:
- $35 secondhand table
- $25 skim-coat concrete
- $35 sealer
- Toal: $95
Note that prices/cost breakdown are for reference only. I owned all other supplies listed earlier from previous projects. Your costs may vary depending on a number of factors to include supplies you already own, location, and availability.
Want a similar look but less DIY?


