How __ to Make a DIY Checkered Frame
As I write this draft, the verdict is still out on how the checkered frame will turn out. BUT TRYING IS AN EXPERIENCE THAT CAN BE A LESSON, EITHER WAY. So, if you want to create your own DIY checkered frame, here’s what (*edited post project completion) TO do.
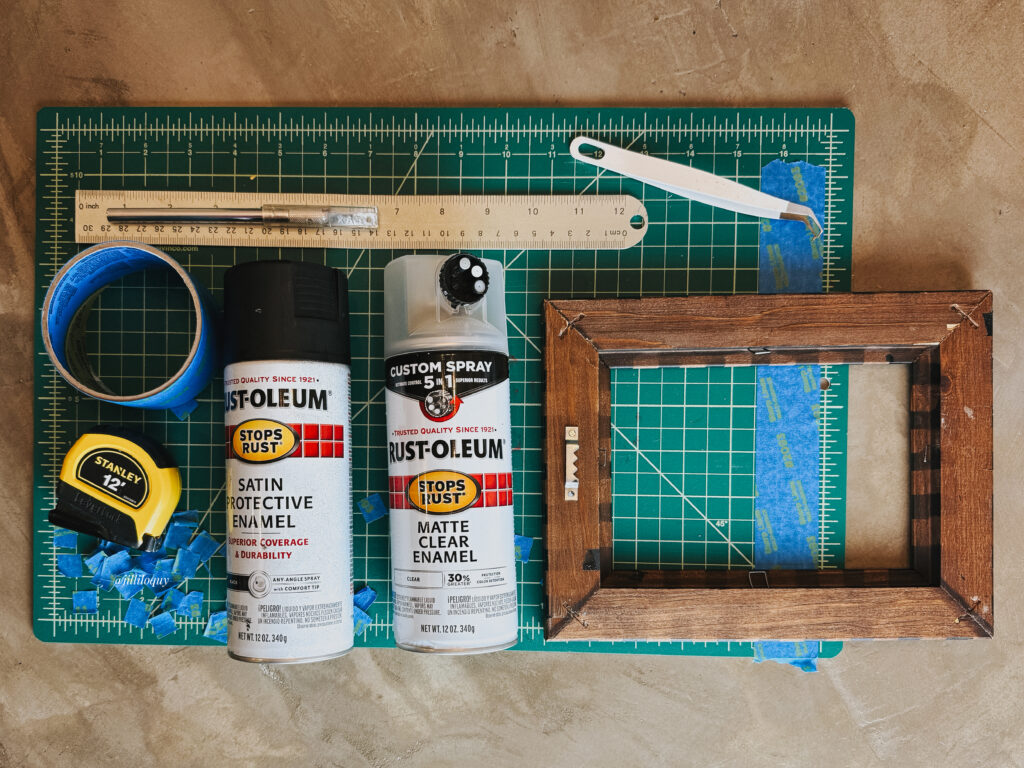
Materials for a DIY Checkered Frame
- frame
- painter’s tape
- tape measure
- durable straight edge
- sharp blade
- clear spray paint
- black spray paint
- tweezers
The only thing I bought “new” for this project was the frame. All of the other supplies I already had on hand as a staple from another project. All of this to say: even if you have to buy materials for this project, you could easily reuse them for another meaning *more project for the money*.
Steps to Make a DIY Checkered Frame
1. FIND A FRAME
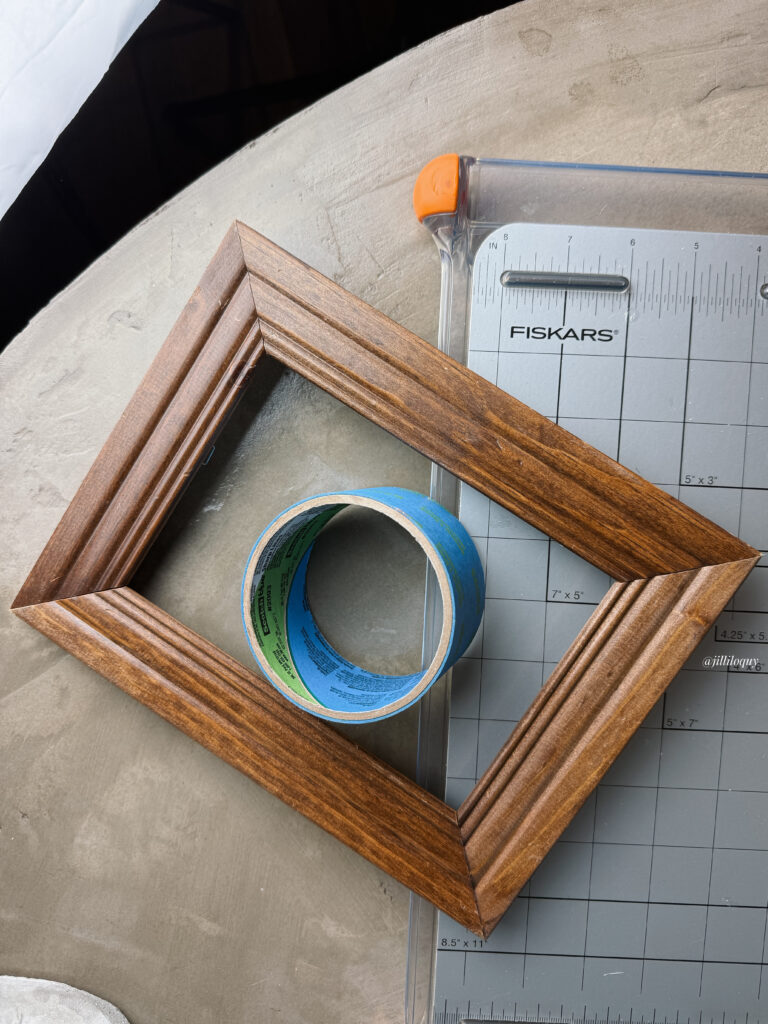
This tutorial is easy but the number one reason I would not label this DIY quick: thrifting. Thrifting the best things, as I’ve experienced it, is a long consistency game. The more I’ve gone, especially in regularity, the more awesome finds I’ve collected. I’m still honing my thrift-tuition – my ability to just ~*sense*~ if it’s gonna be a plentiful thrifting day or not – so alternatively the method is just to keep trying. Also, this may be due to my location. Your mileage may vary and if you have easier access to cool thrifted things (for not terribly expensive!), secondhand hats off to you. For me? After no less than 5 stores, I finally found a frame in the size and general stain that I was willing to work with.
2. WIPE THE FRAME DOWN
New or used, the frame probably has some dust or dirt that future steps of taping and painting will do better without.
3. MEASURE THE FRAME
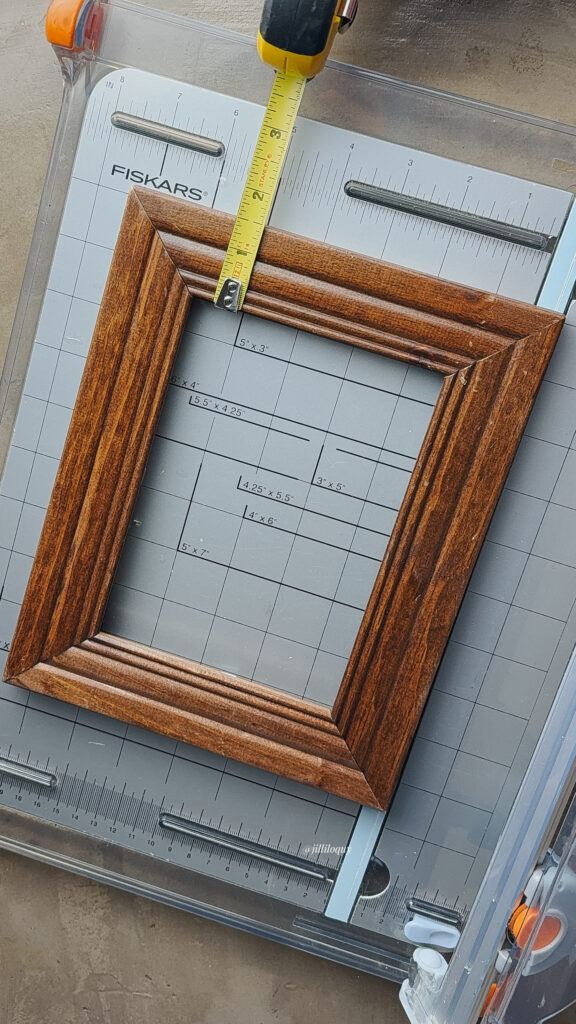
The overall dimensions of my frame were 9 7/16” x 7 7/16”. The measurement from the outer edge to the inner edge of the frame was 1.5”. Knowing I wanted a larger checked pattern, I opted for 3 boxes all around meaning each square would be approximately 0.5” wide. Because of the slightly-off-from-a-perfect-half-inch measurements of the frame, I decided to save myself some sanity and decided I would eyeball to ensure the end pattern at least looked even. I love me some math sometimes *cue the trigonometry I seem to keep pulling out of the deep reservoirs of my brain* but this frame wouldn’t be one of those projects.
4. TAPE OUT THE PATTERN ON THE FRAME

In theory you could really use this overall method for any pattern (look at me writing this how-to with the highest of assurance and belief).
While I easily calculated the approximately 0.5” for each square, I mostly guesstimated the measurement between pieces of tape making this project less STEM and more of an artistic flow.
Some additional tips on the approach I took:
- I used a rotary paper cutting board and cutting mat my mom bought me as a teenager, aka I’ve really gotten some great mileage out of these tools during their long lives *insert happy cry face*. While it made this project more convenient, you can easily cut your tape down on a plastic (disposable or otherwise cuttable) surface with a box cutter/X-acto knife and straight edge. OR you can buy that that is your desired dimensions – I’m thinking electrical type or multiple layer of washi tape may work.
- I taped out the “easy” pieces first. These pieces also happened to be some of the only pieces I measured to make sure they were as close to 0.5” apart as I could manage.
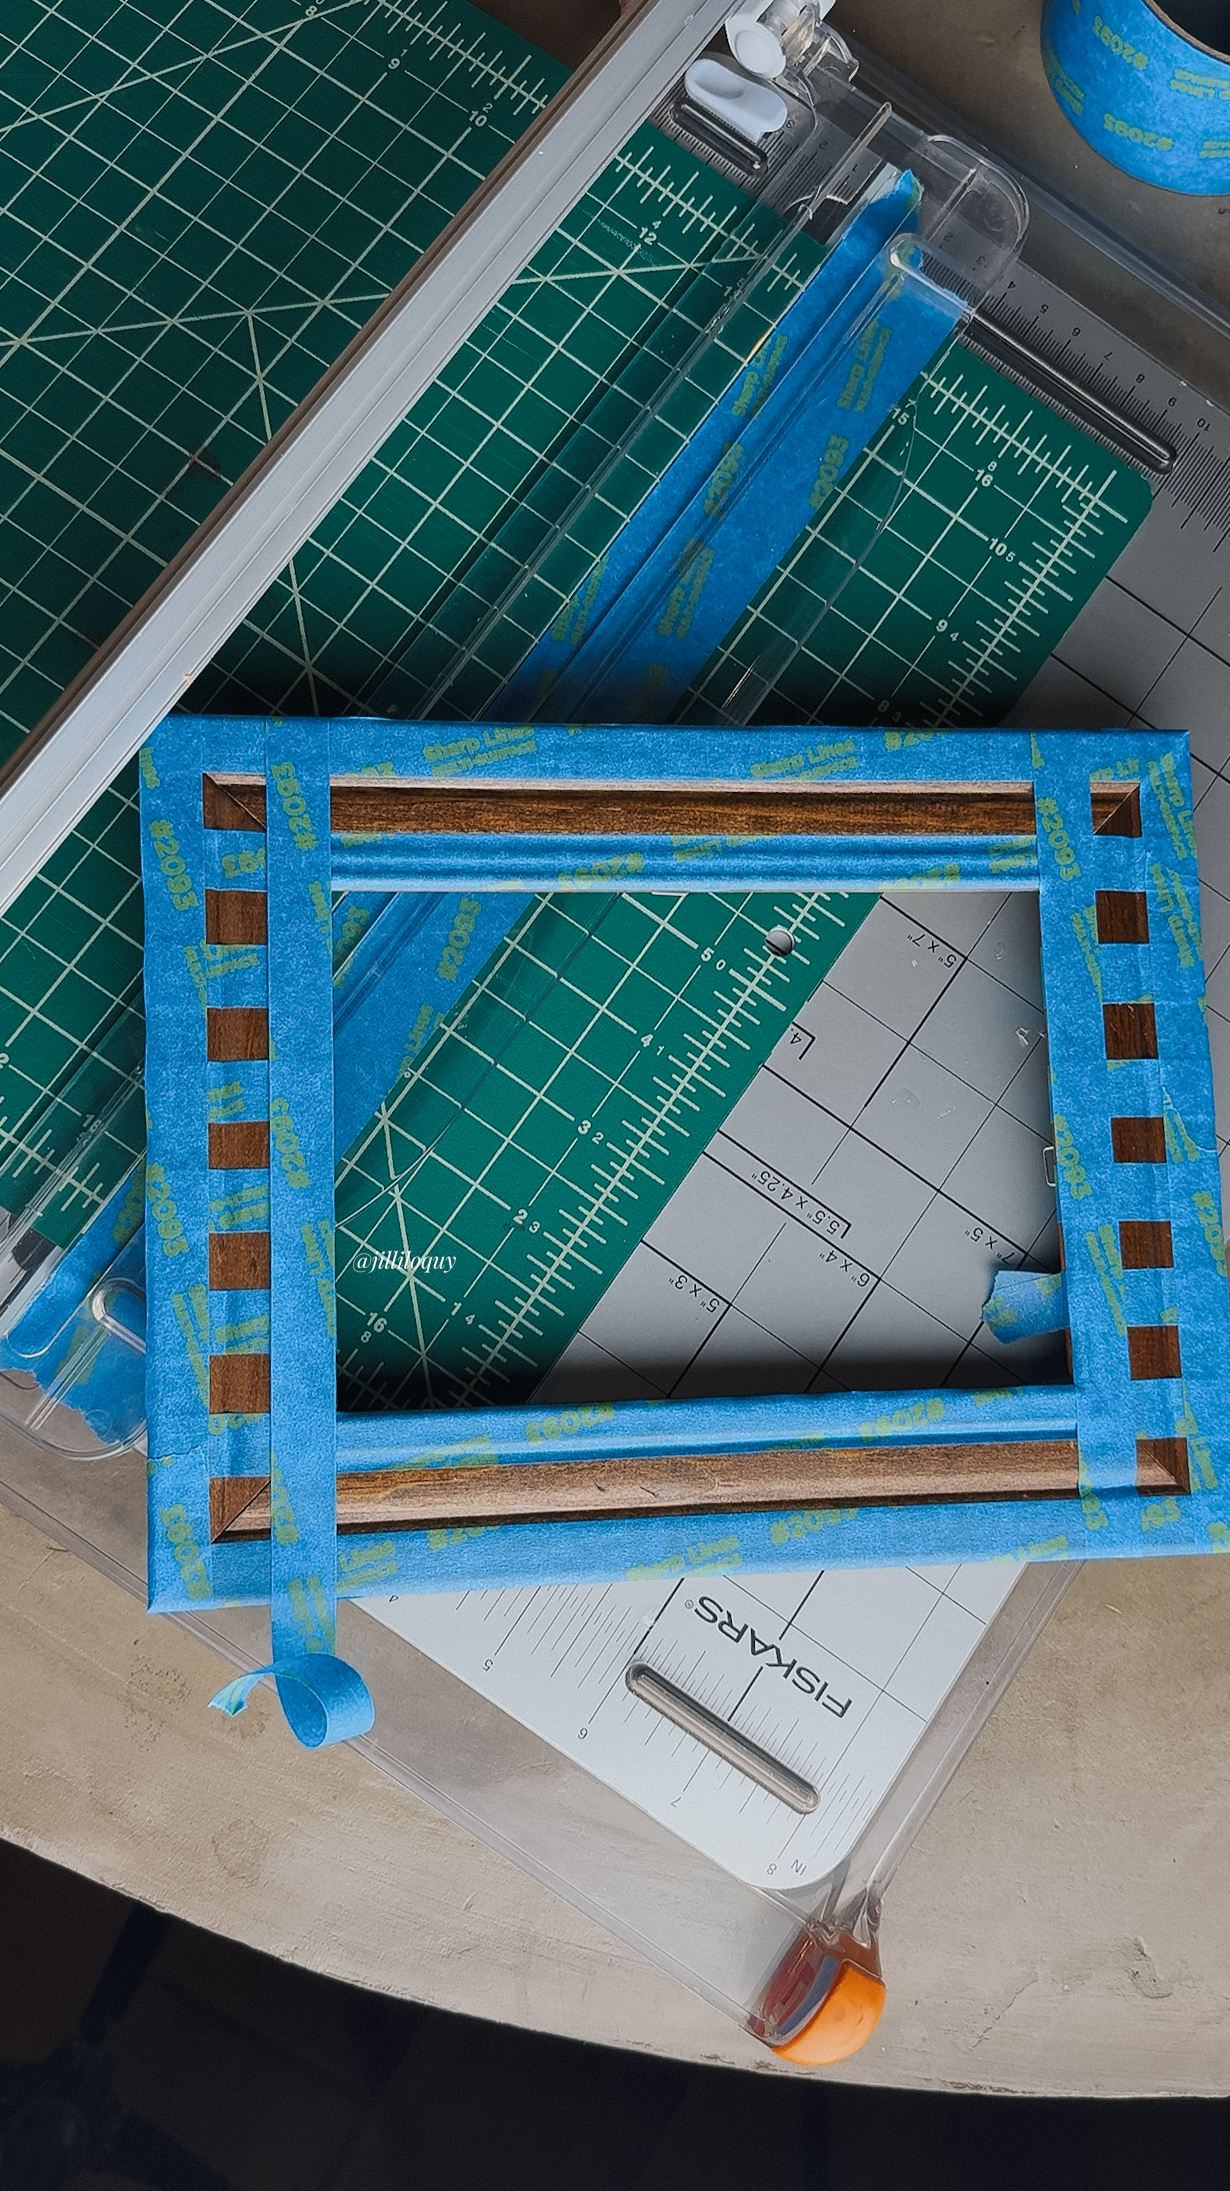
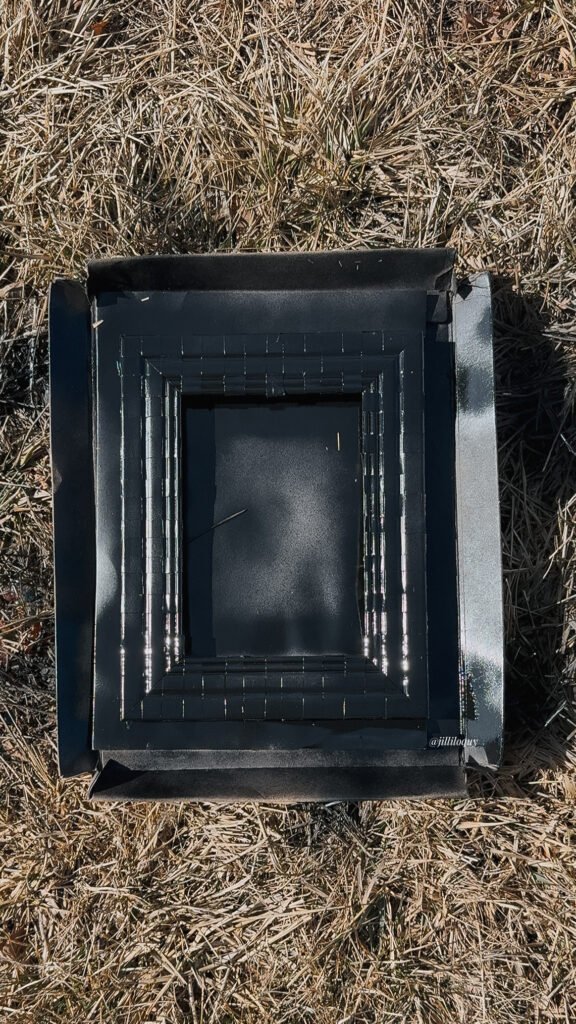
- The middle pieces of tape on the bottom and top of the frame are largely eyeballed to look even (you can see it in the image below).
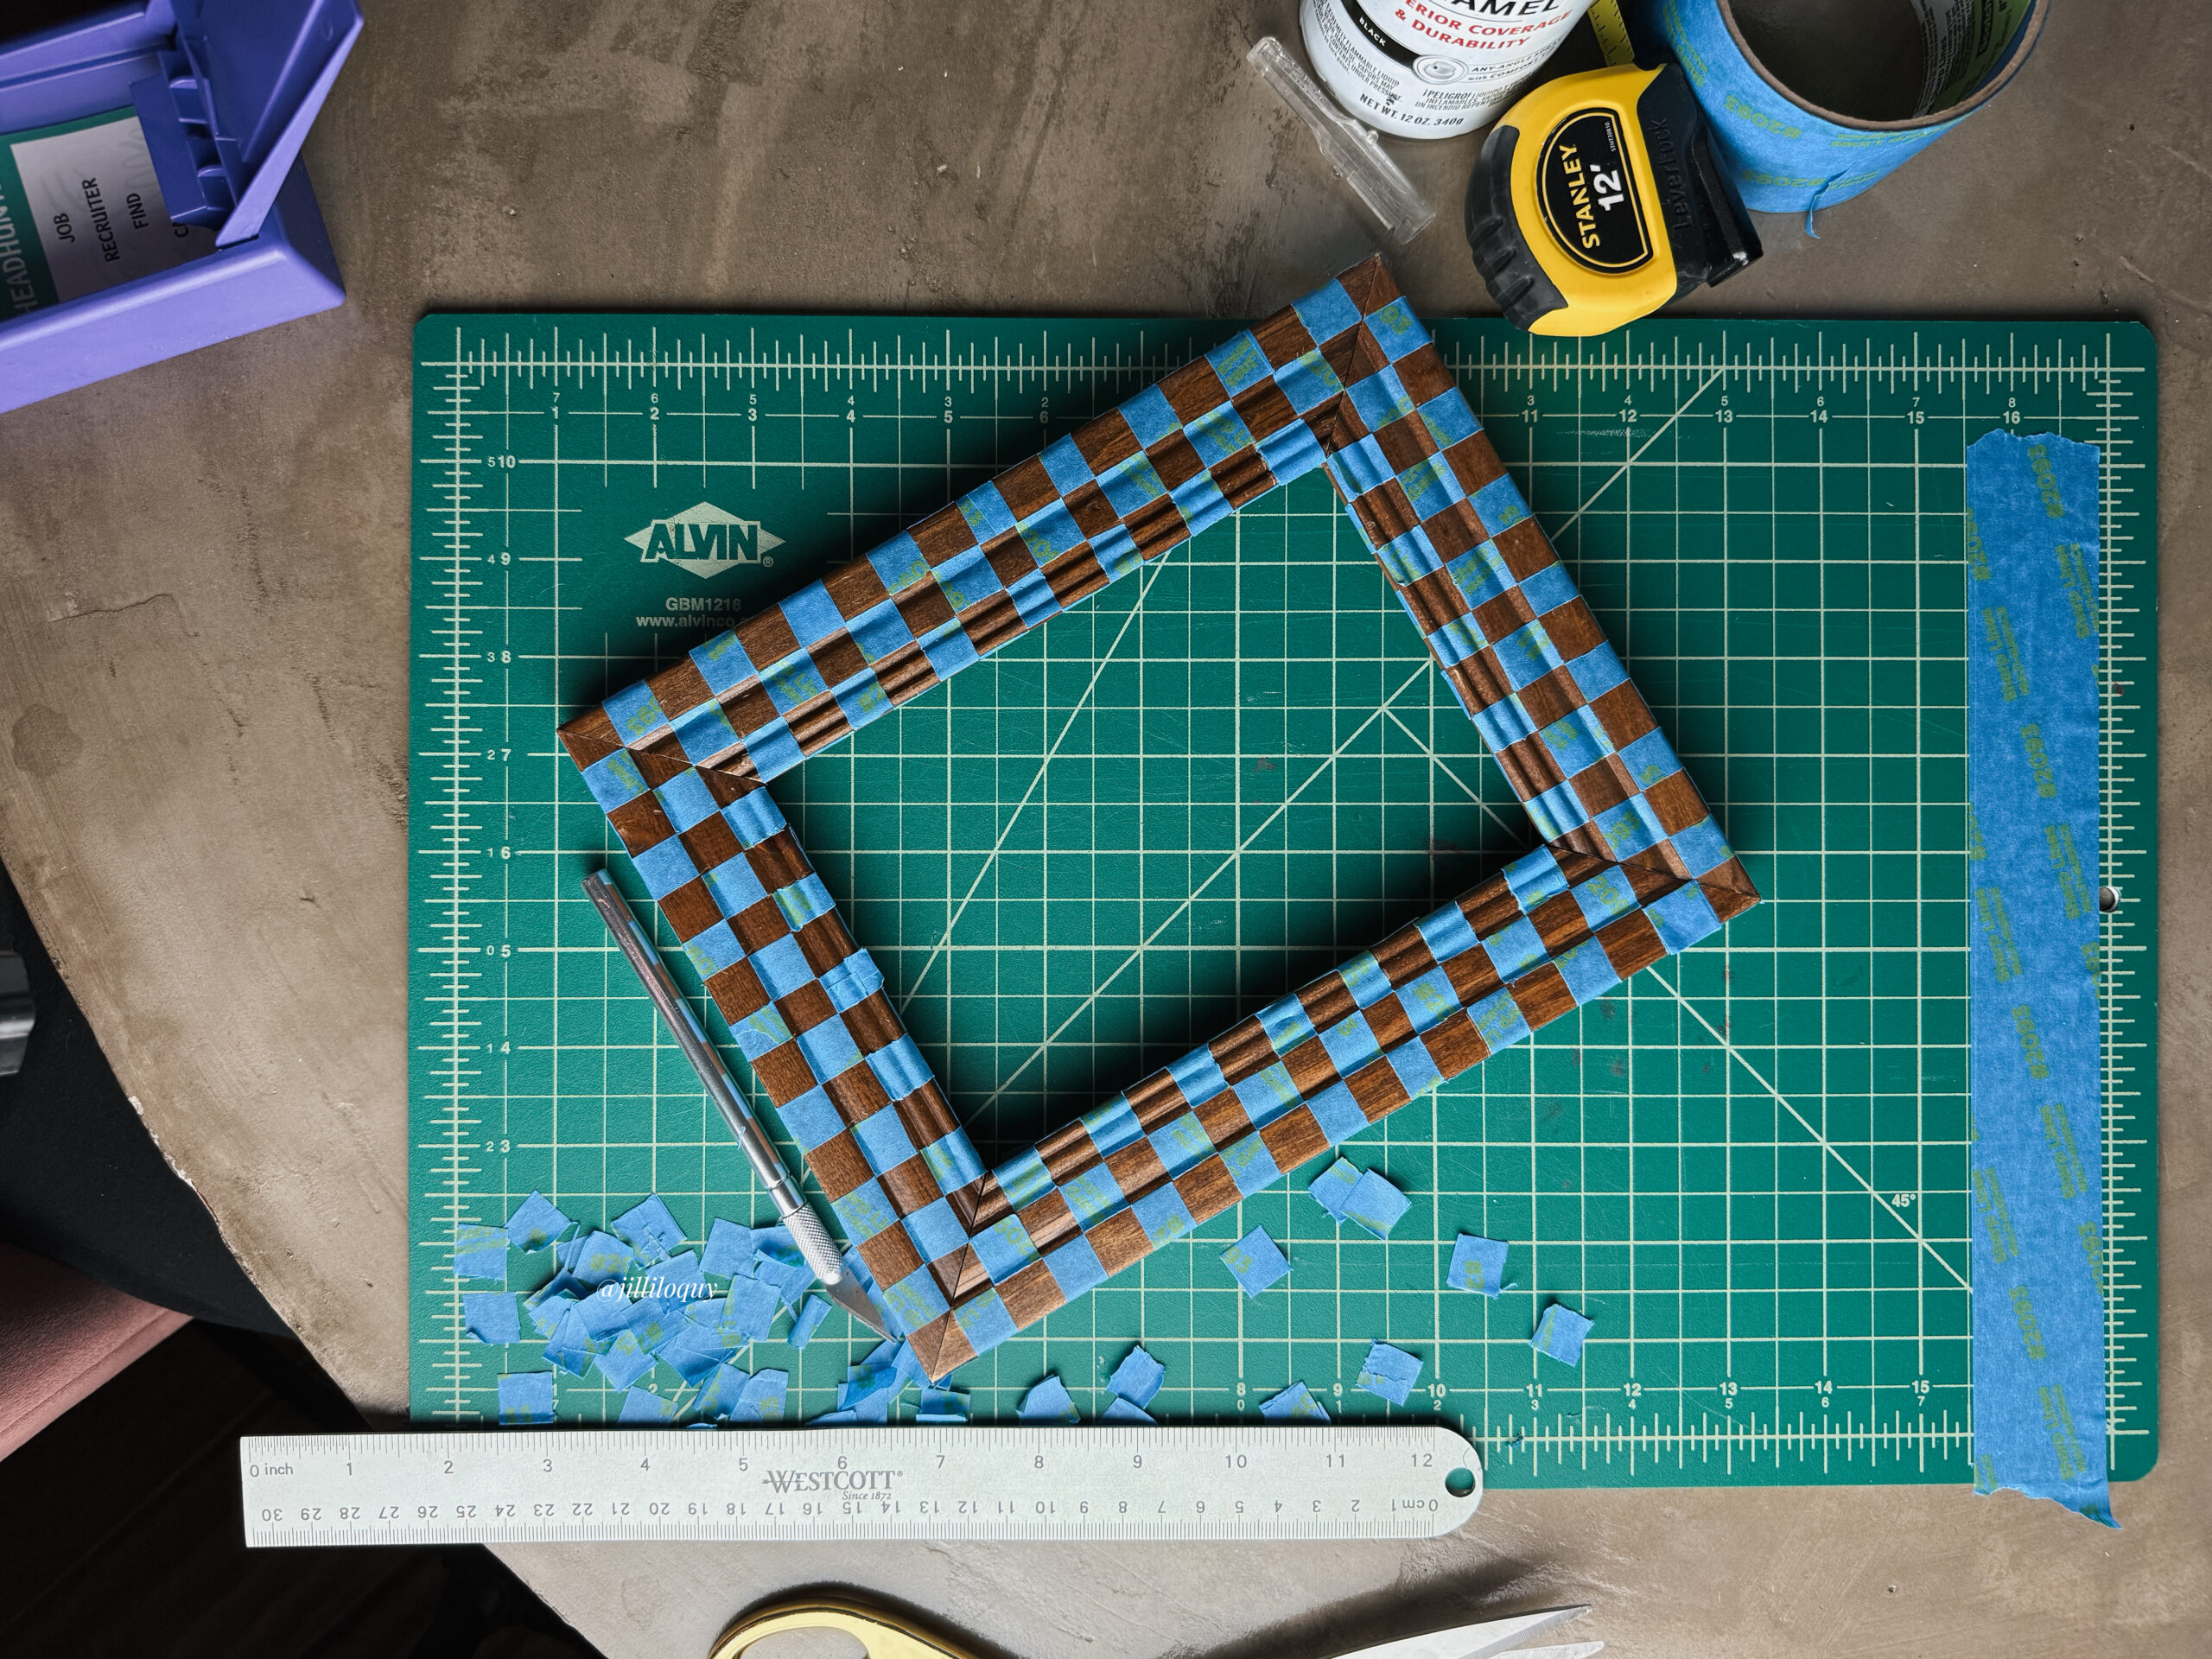
- The tedious but kind of soothing part: I took a metal ruler and an xacto knife to cut out all of the alternate squares creating the checkered pattern. I was mindful not to press too hard as to scratch up the frame. Now that I’m on the other side of this project I will add that there were cut lines on the edges of the tape but they were covered up by the paint, so while I suggest being careful about damage, I did find there to be room for imperfection.
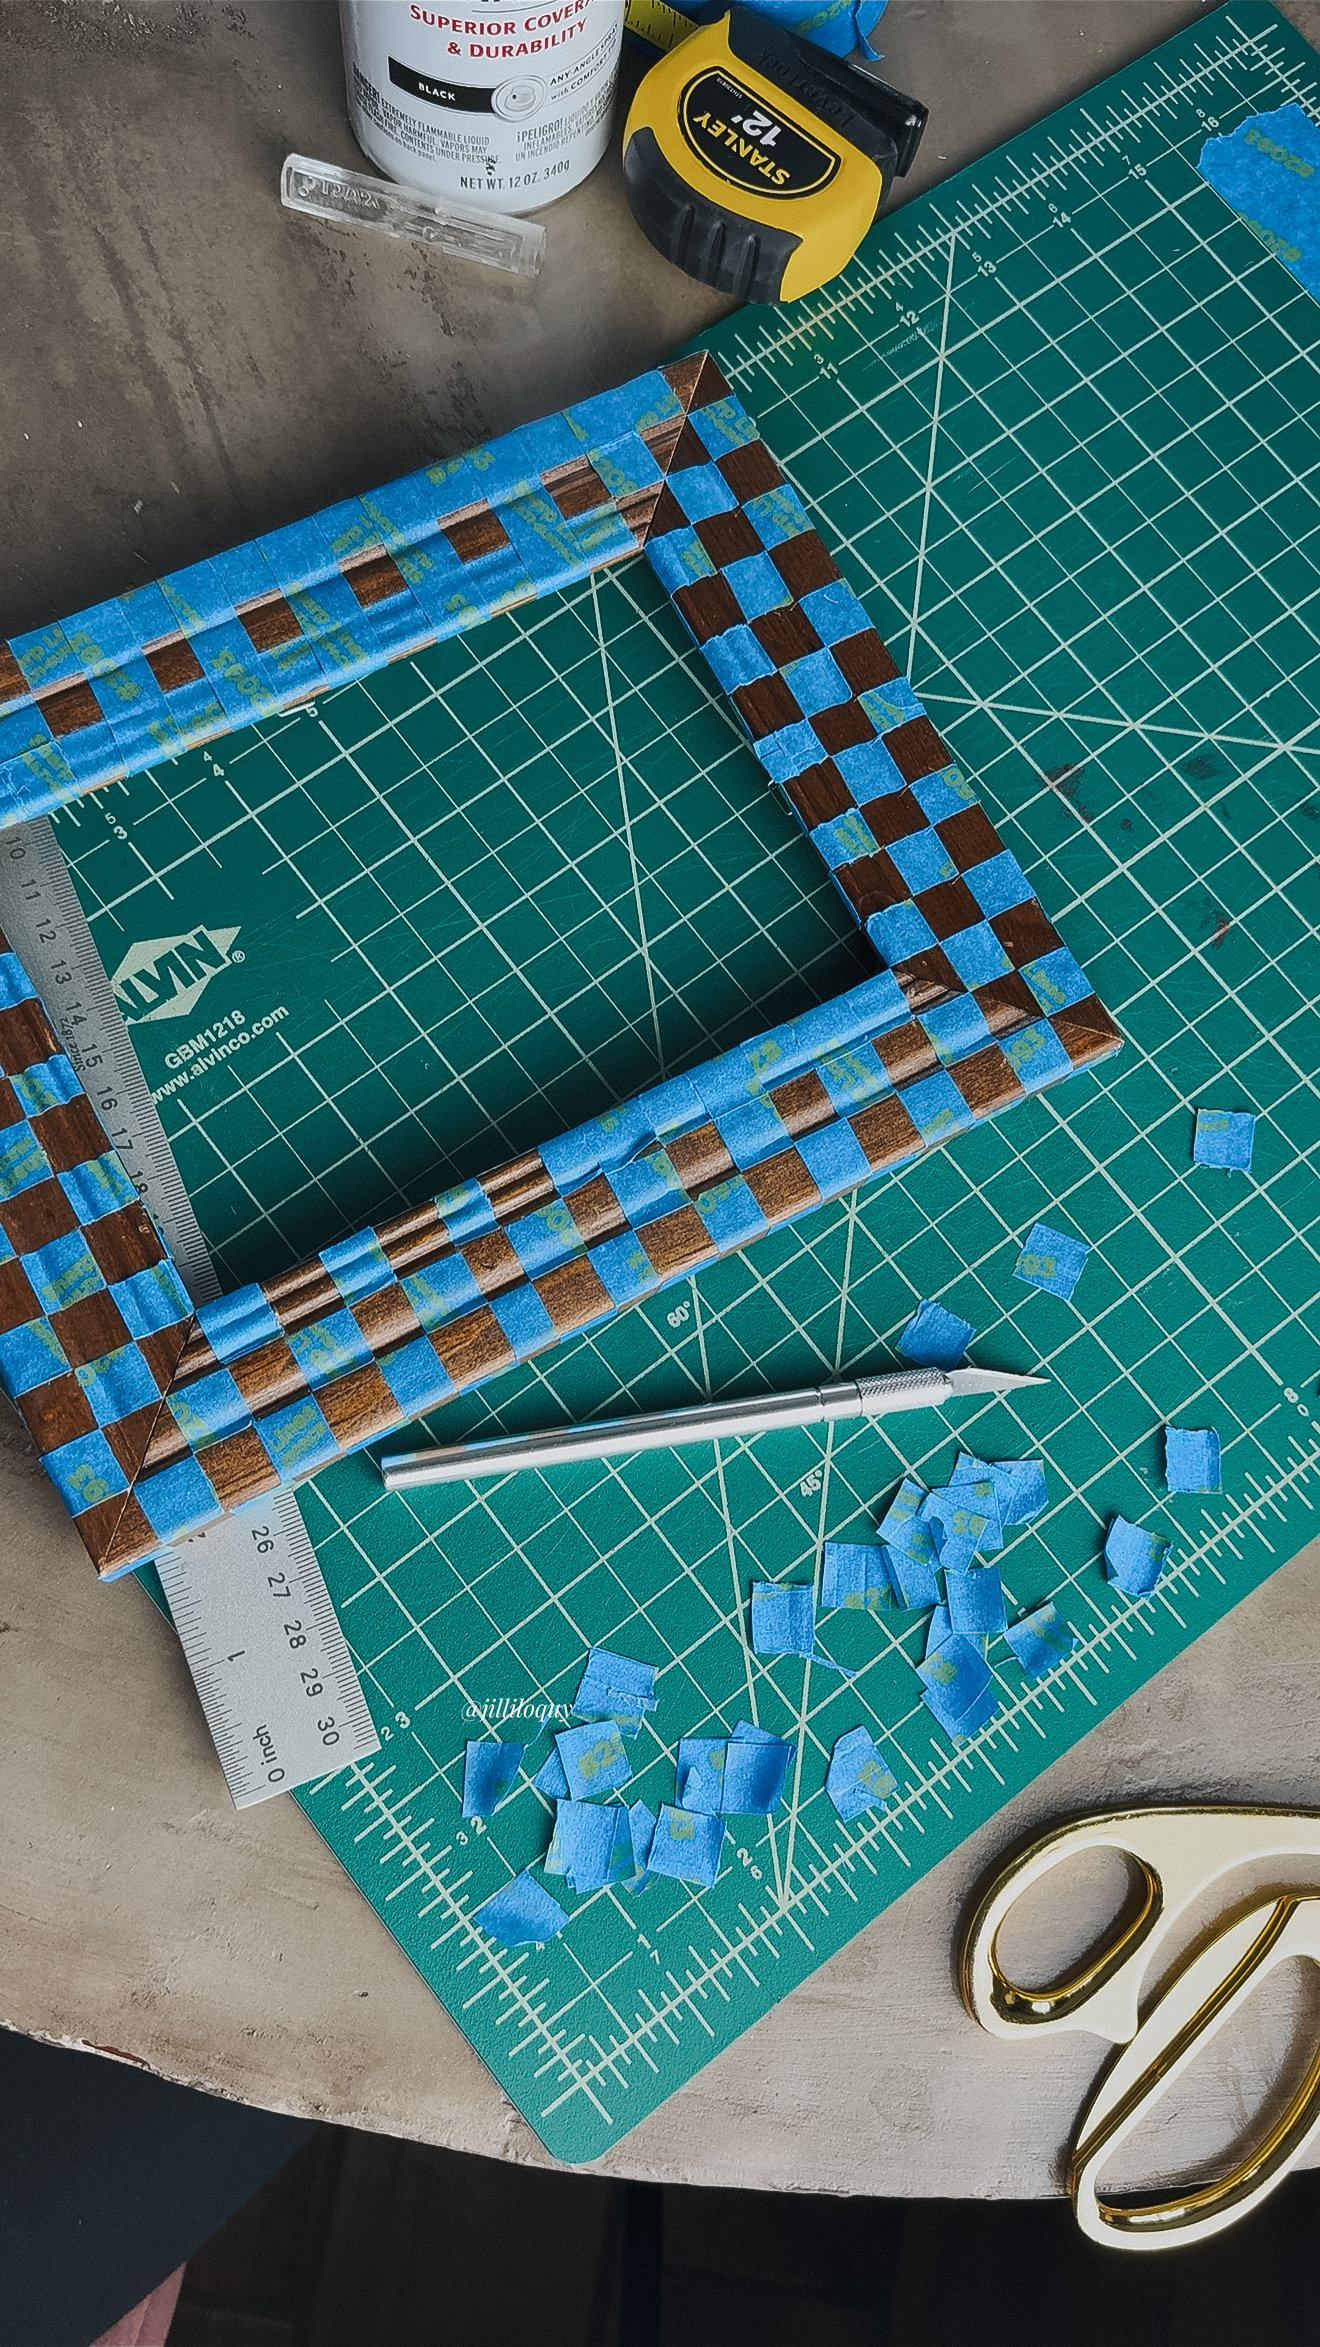
(This whole part of the process took me a little less than an hour and a half. Now that I’ve counted out the time it sounds like a lot but it felt like it passed pretty quickly while I was doing it. If you’re also someone who needs to keep their hands busy, it could be a great activity to do with a show in the background.) - Press down on all of the tape edges.
- Admire the pretty pattern but know it’s not permanent yet.
5. SPRAY THIN COATS OF CLEAR SPRAY PAINT
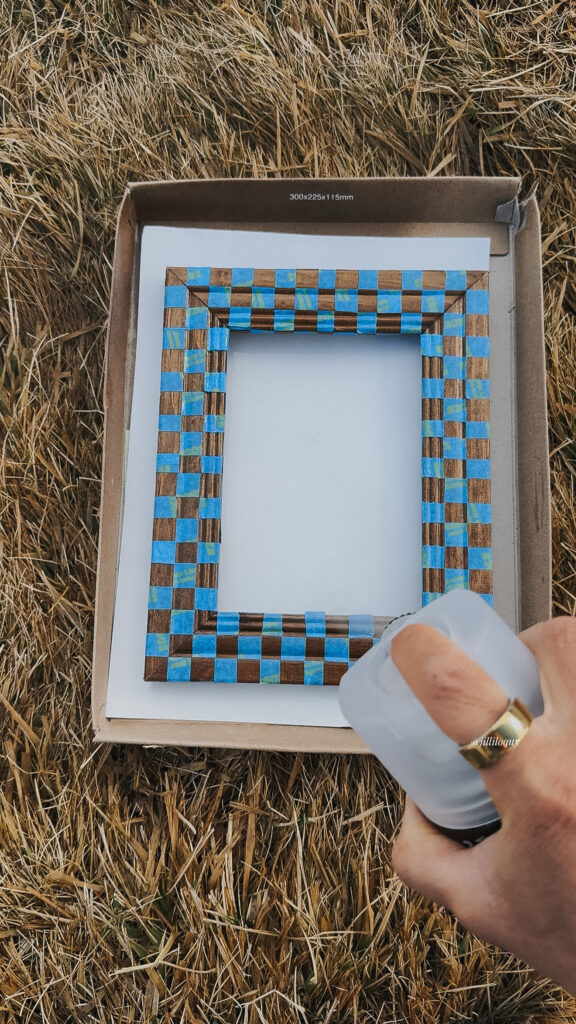
My theory is the clear spray paint would seal the many edges of my design. The brand I used was generous in the timing between coats (it read I could recoat at any time). I sprayed 2 THIN coats at a time. One of my biggest essons with spray paint is to go light on each coat to prevent drips and clumps.
Between coats I gently pressed on the edges of the tape that were still popping up. In total I sprayed about 4 coats because my edges kept popping up. I sprayed coats 3 + 4 in an attempt to seal the edges more. I’m not sure how much it actually helped, tbh, but I never planned on doing any less than 2 coats for thorough coverage sake.
6. SPRAY THIN COATS OF BLACK SPRAY PAINT
After the clear coat paint was completely dried (I happened to wait about 24 hours out of project hesitation but this is overkill for the 30 minutes of dry time to handle time advertised on the paint can), I pressed down all of the edges one more time.
THEN, I coated in thin coats. Overall I ended up spraying 3 coats to get full coverage.
7. PEEL OFF THE TAPE AFTER PAINT IS DRY
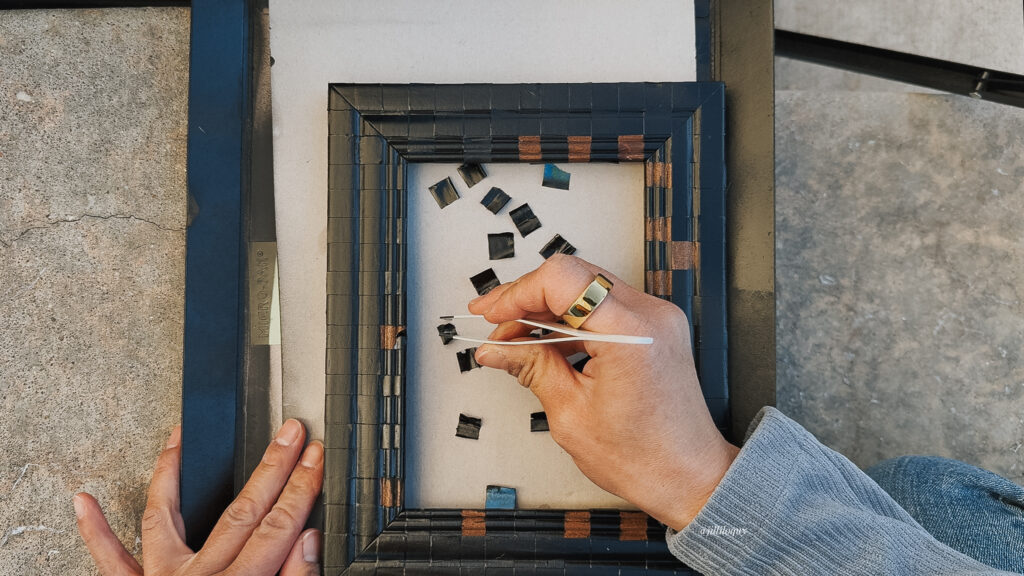
I recommend waiting the max dry to handle time to begin peeling off the paint in order to avoid getting finger prints pressed into your fresh paint. Also, use tweezers gently to avoid scratching the wood or paint. The spray paint I used advertised the paint to be fully dry in 24 hours. My experience with paint tape is to not let paint fully dry otherwise I’ve experienced peeling up of the paint in ways I didn’t want.
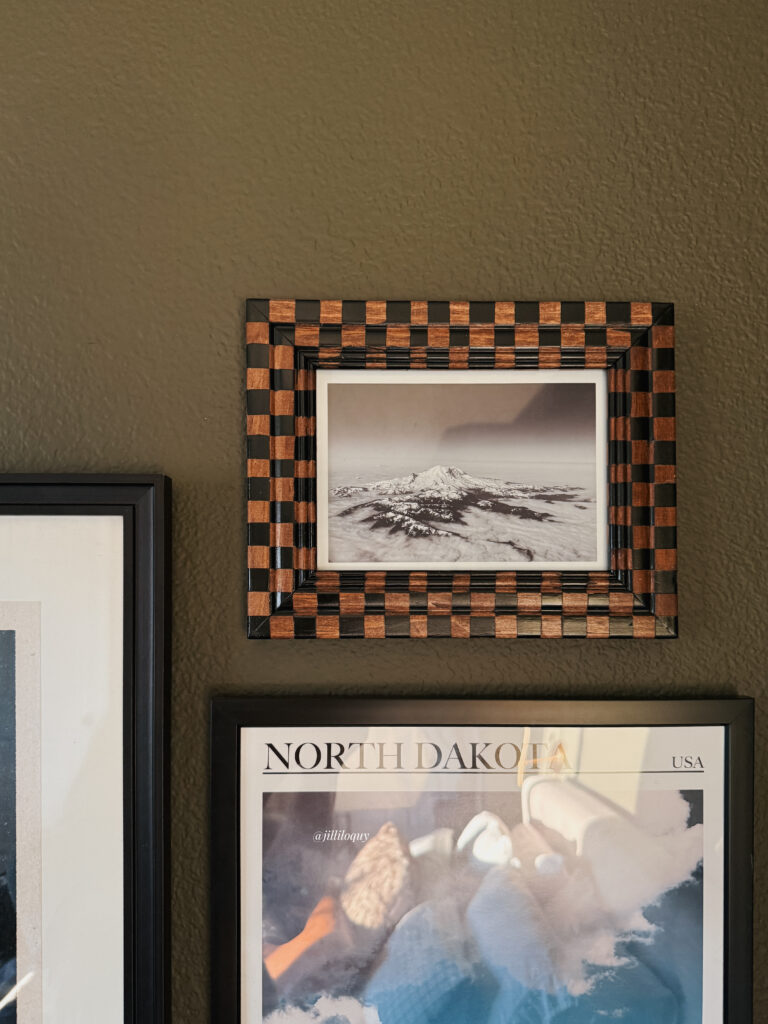
And finally… a one-of-a-kind checkered frame
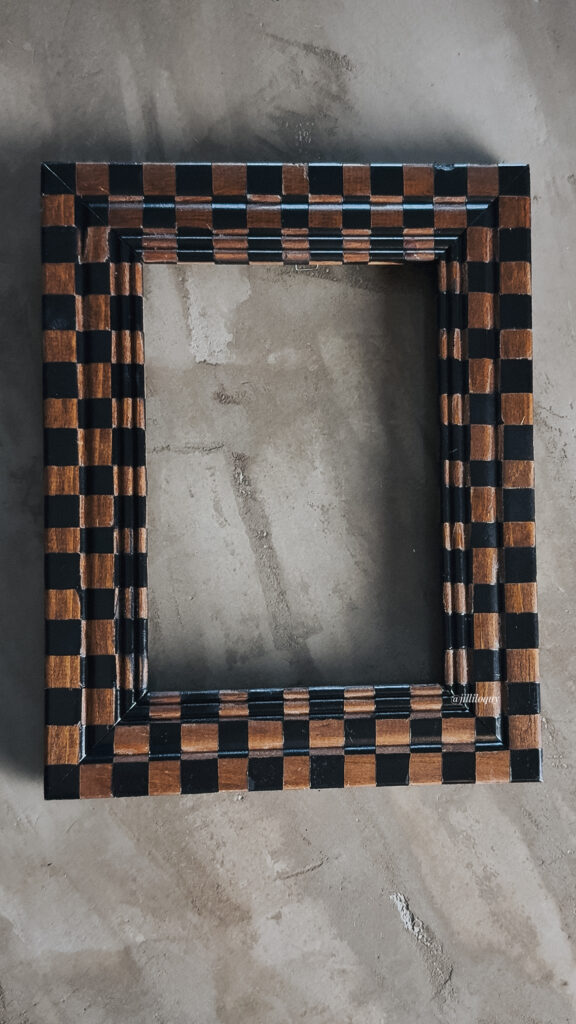
Admire your newest DIY checkered frame masterpiece!
It actually turned out! There are some parts where the paint did run under the most ripple/textured parts of the frame, but for the most part I’m chocking this project up as a visual success.
REMINDING MYSELF HOW CAPABLE I AM & YOU ARE TOO.
Remember, regardless of how it looks in the end, the worst look is NOT trying. 😉